The Social Planner settings provide you with a centralized hub to customize your social media management. Within this section, you can efficiently manage various aspects of your social strategy, from linking social accounts and community groups to adjusting your media preferences. Whether you're fine-tuning notification settings, organizing content, or optimizing your media for different platforms, the Social Planner settings give you the tools you need to ensure your content is effective and your social presence is well-maintained.
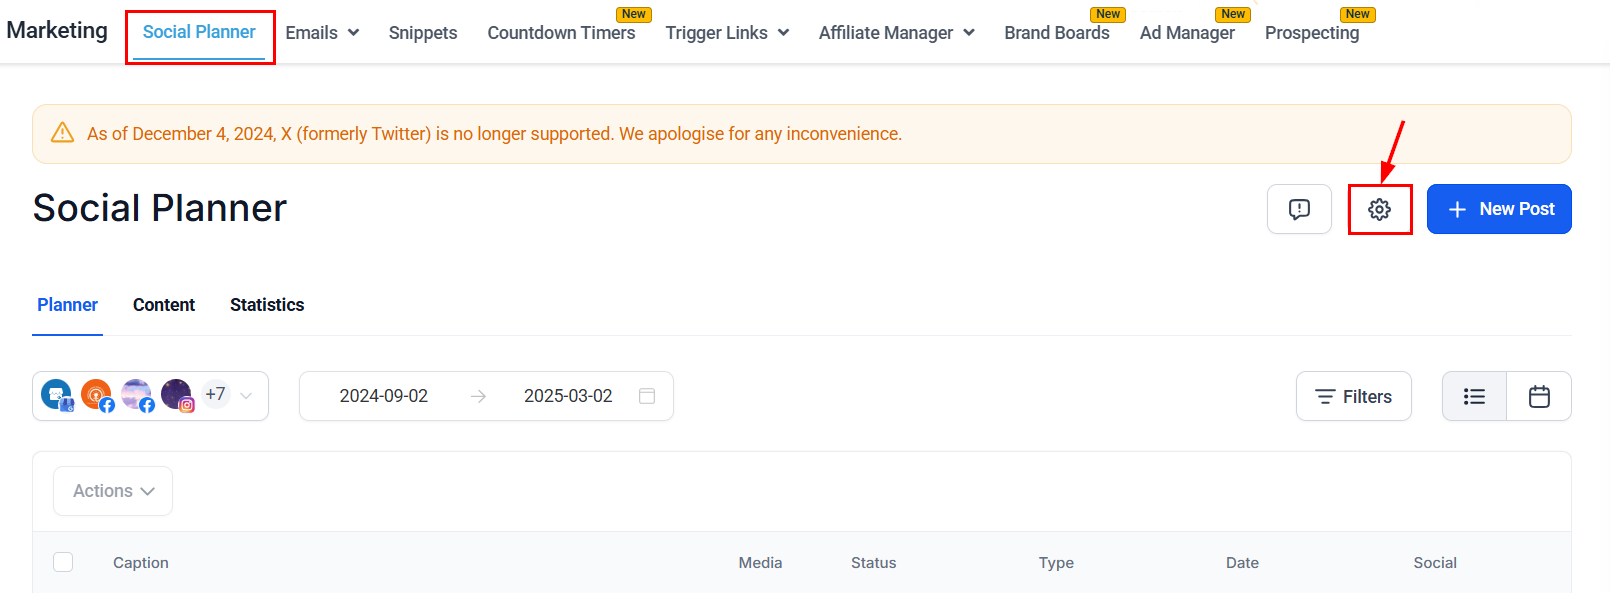
To access the Social Planner Settings, open the Marketing > Social Planner section and click the gear icon.
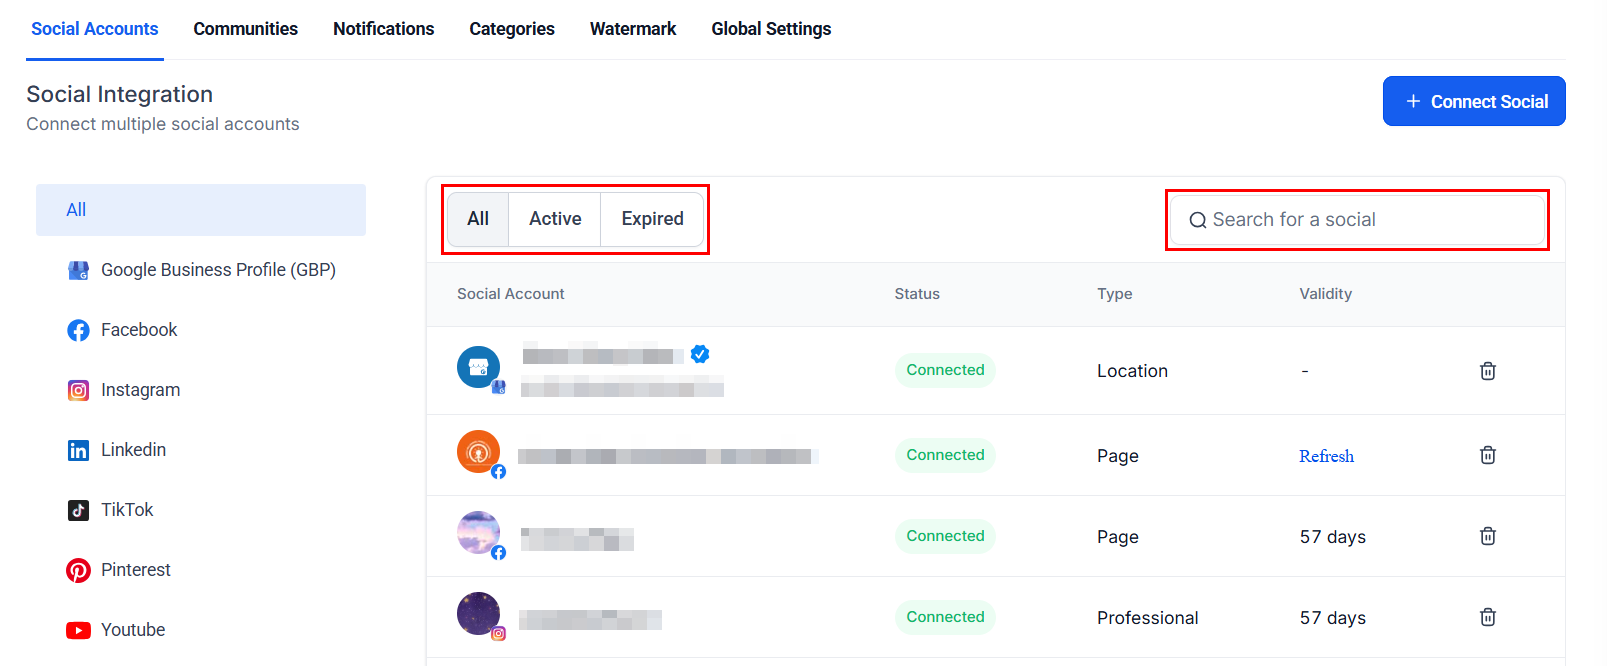
Social Accounts
Link and manage multiple social media accounts from various platforms (such as Facebook, Instagram, LinkedIn, etc.) within this section. Click the “+ Connect Social” button to integrate a new account, or click the trash icon to disconnect a connected social account.

Furthermore, you can filter the view to display either active or expired accounts and use the search bar to locate a specific account by entering its name.
Communities
This section enables you to manage the various community groups integrated with the Social Planner. You can select default users for posting and ensure that any updates are synced across the associated channels of each group.

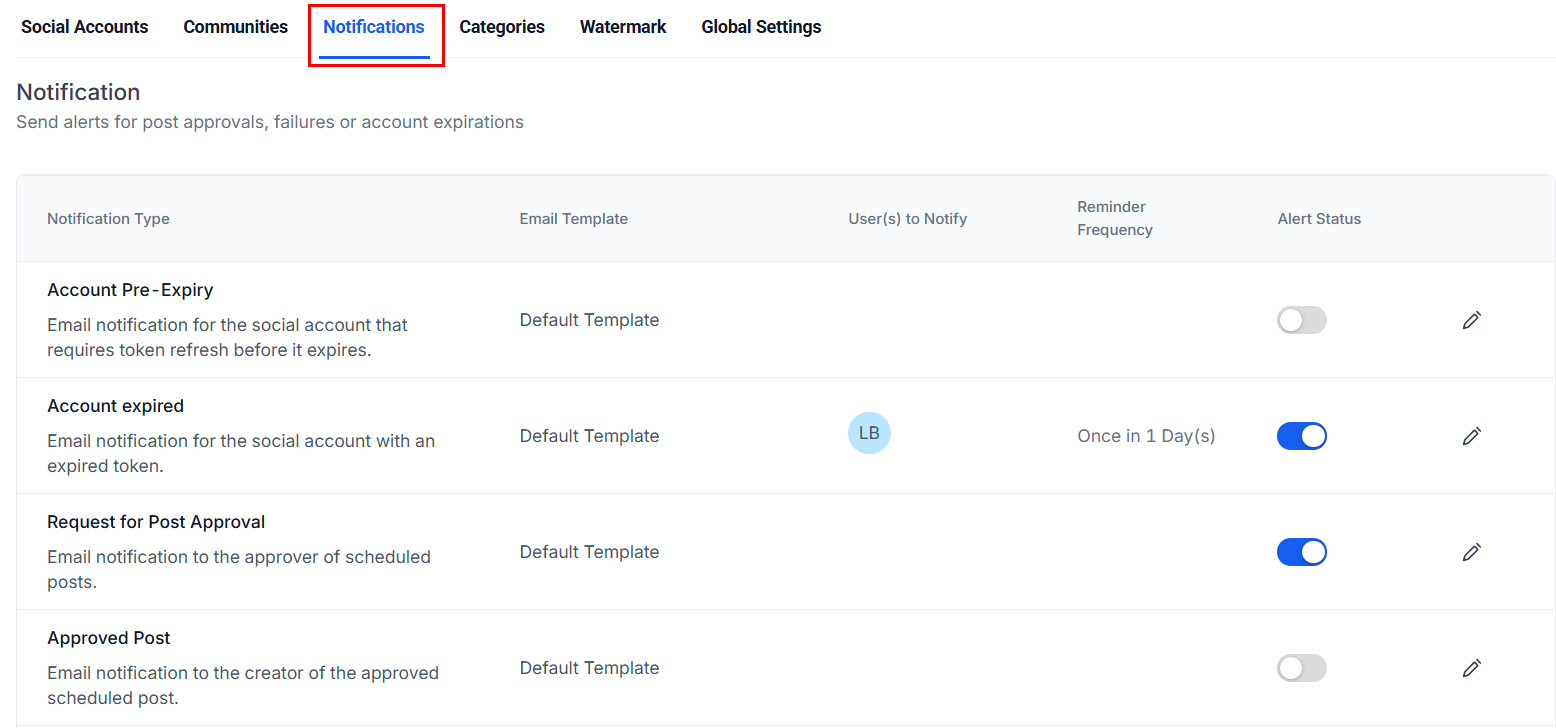
Notifications
Here, you can configure how and when you receive notifications regarding your social media activities. This includes alerts for posts requiring approval, failed or rejected posts, or expired social accounts, ensuring you're always in the loop without being overwhelmed by unnecessary alerts.
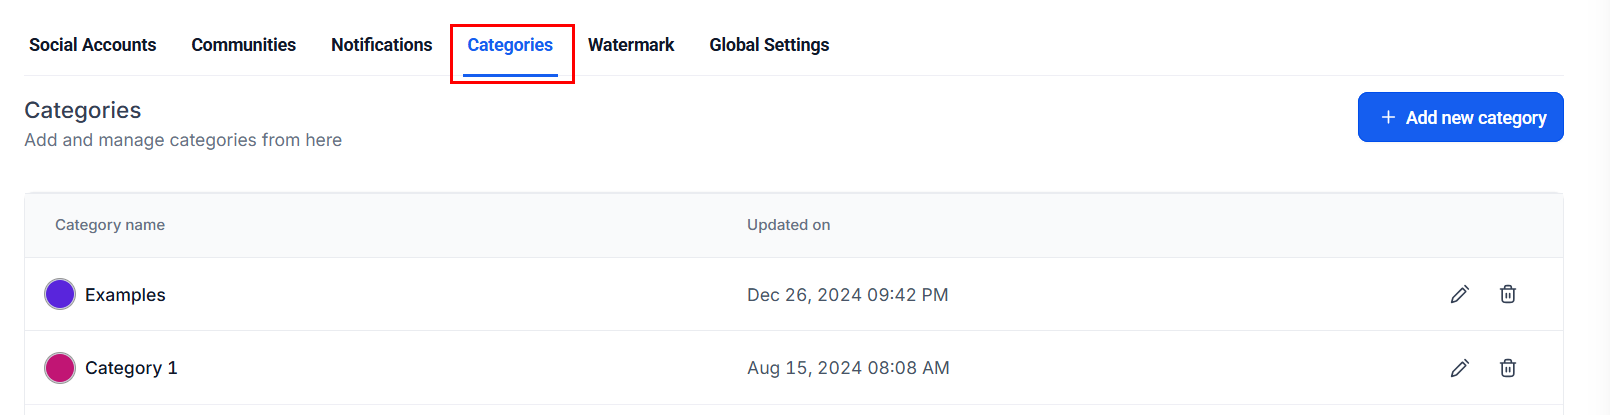
Categories
The categorization feature allows you to organize your content into categories or topics. You can categorize posts based on themes (e.g., promotions, announcements, educational content), which makes it easier to analyze your social media strategy over time.
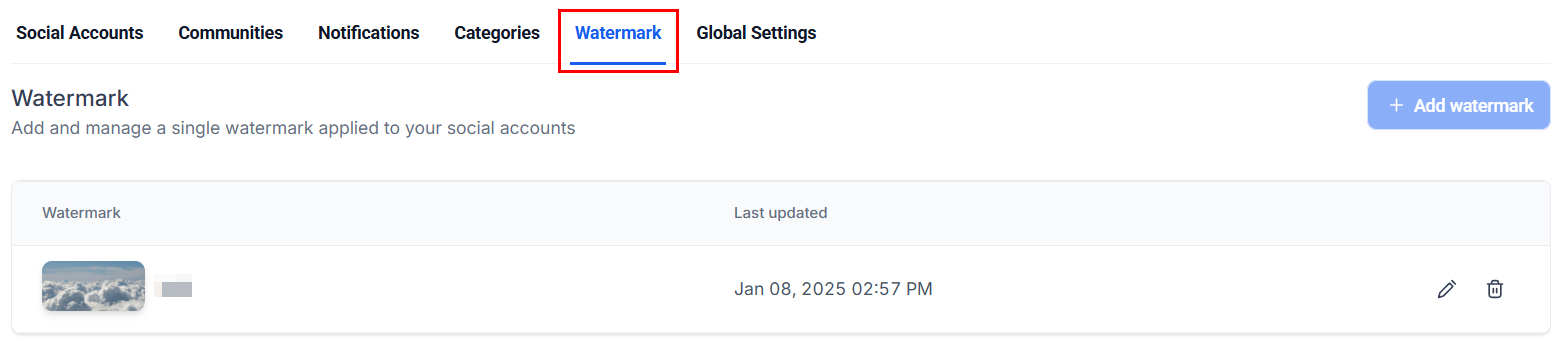
Watermark
Here, you can add a custom watermark which will be applied to your images or videos before posting them. This feature is useful for branding, ensuring that your content is attributed to you, and protecting against unauthorized use of your media. Customize the watermark's size, opacity, and placement to fit your brand’s aesthetic.
Global Settings
Activate the Media Optimization feature to automatically adjust images according to platform-specific requirements, eliminating the need for manual resizing. Additionally, optimized images are smaller in file size, resulting in faster upload speeds and a smoother scheduling experience.

That's it! Customize the Social Planner Settings to have a more impactful social media presence, ultimately boosting engagement. Check out the other articles in this section to learn more about what you can do with the Social Planner!
Was this article helpful?
That’s Great!
Thank you for your feedback
Sorry! We couldn't be helpful
Thank you for your feedback
Feedback sent
We appreciate your effort and will try to fix the article