The Post Approval Flow in Social Planner allows users to have their social media posts reviewed and approved by another team member before publication. This process involves scheduling the post for approval, selecting an approver, and adding internal notes. Once a post is sent for review, the approver can view, edit, approve, or reject it. Approved posts are scheduled on the social calendar, while rejected ones come with reviewer comments. Email templates can be customized for the approval notifications.
Requesting Post-Approval
New Post Approval
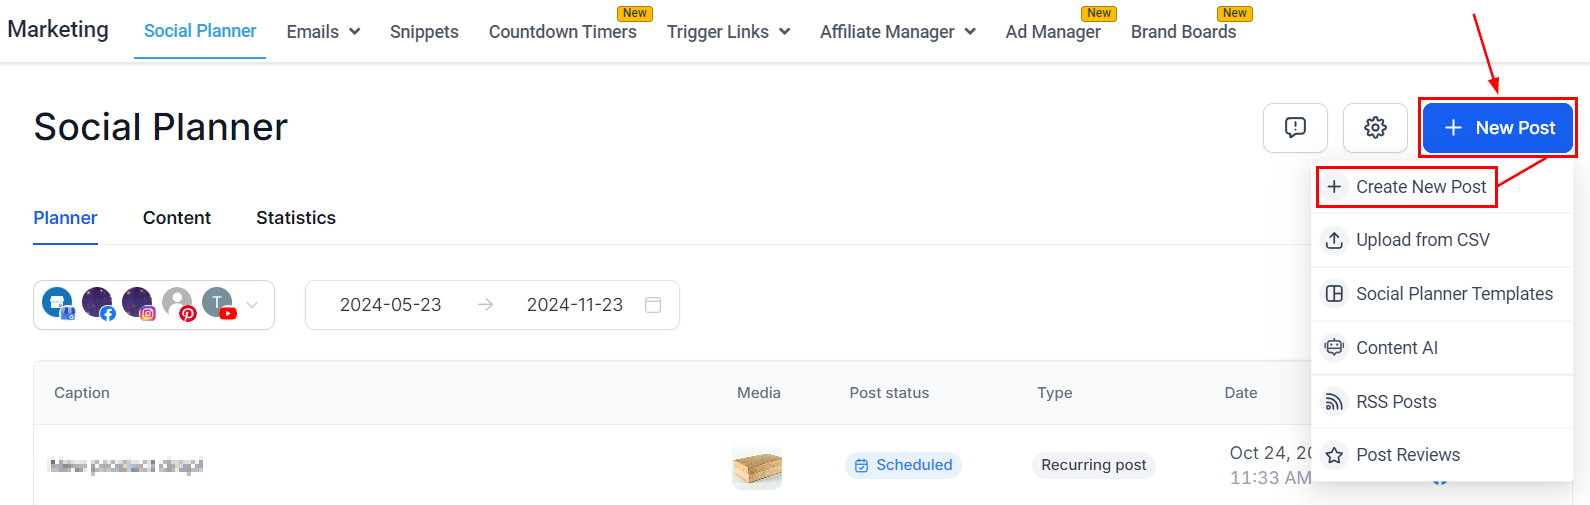
Navigate to the Social Planner tab inside the Marketing section and create a new post. To do so, click “+New Post” then select “Create New Post”.
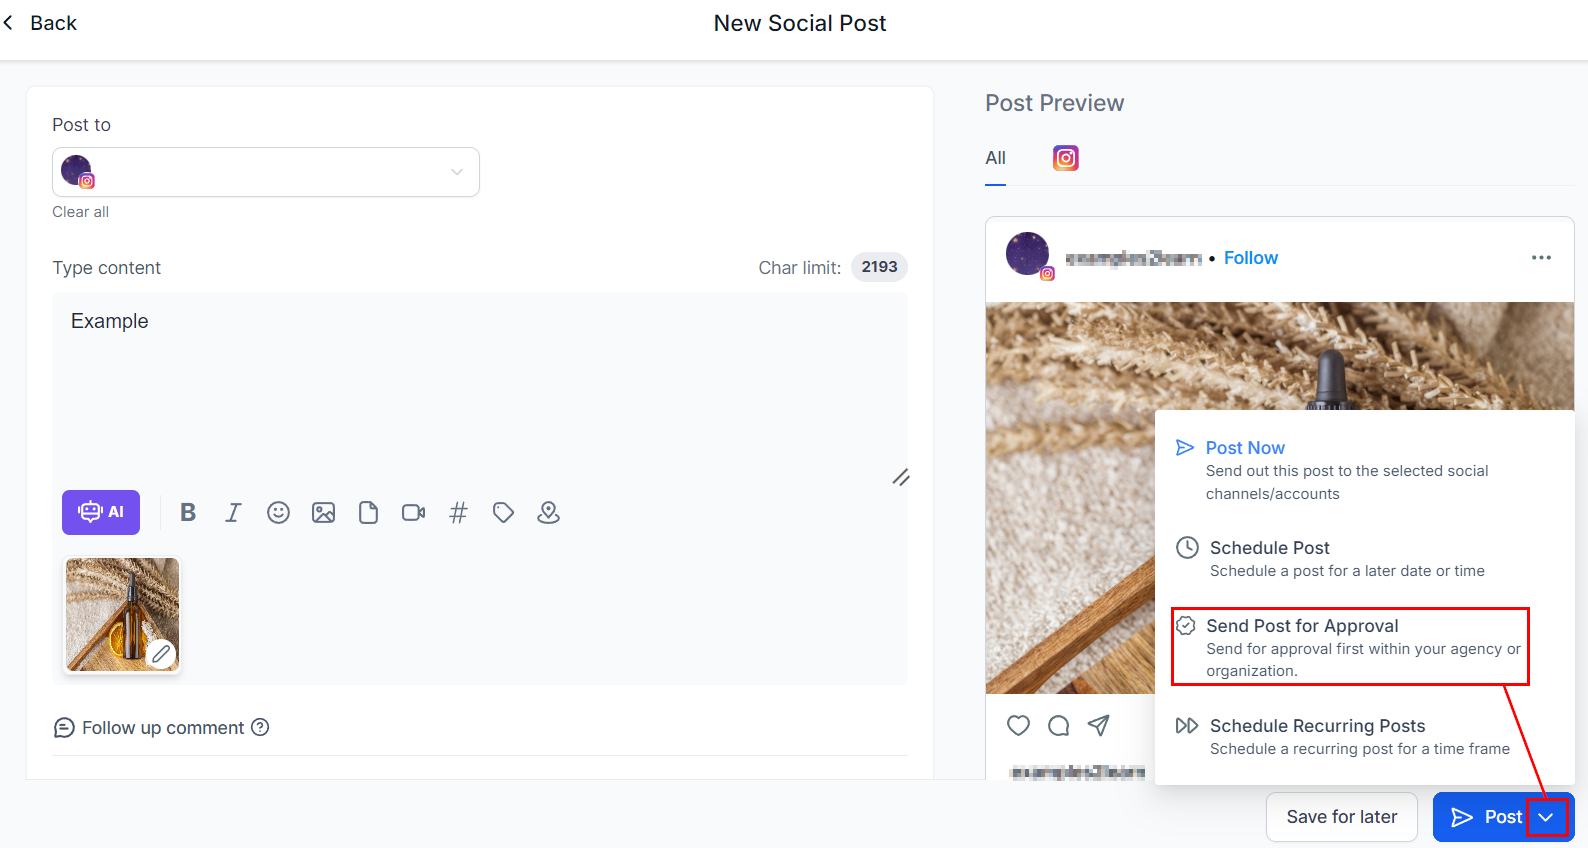
Create your post as normal, including all your captions, media, etc. Click the downwards pointing arrow to schedule the post by selecting “Send Post for Approval”
- Add the date and time for the schedule.
- Choose the user who would approve the content.
- Add an internal note for approval for more information.
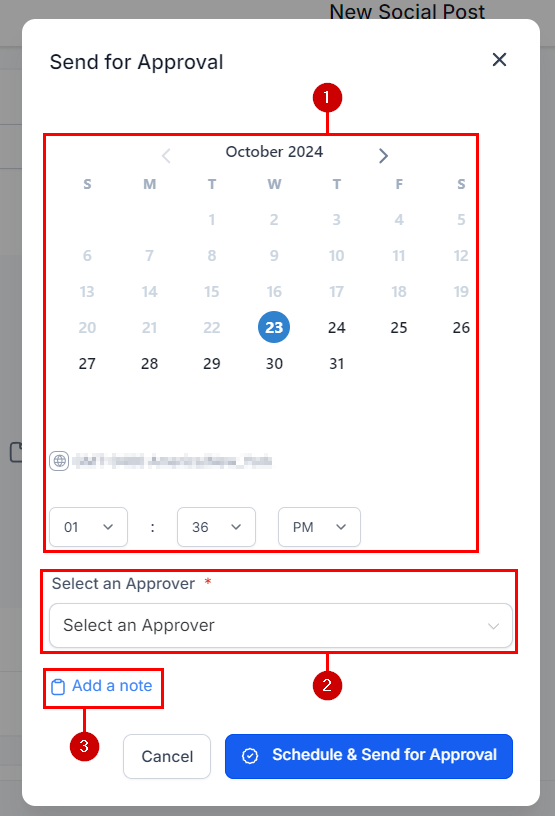
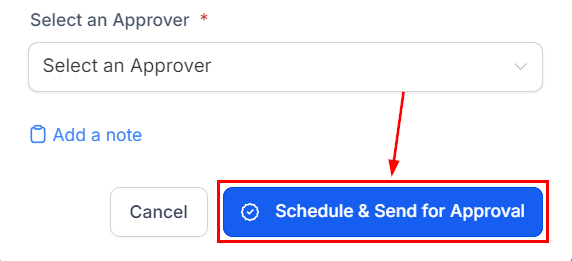
Once these details are added, click on 'Schedule & Send for Approval'
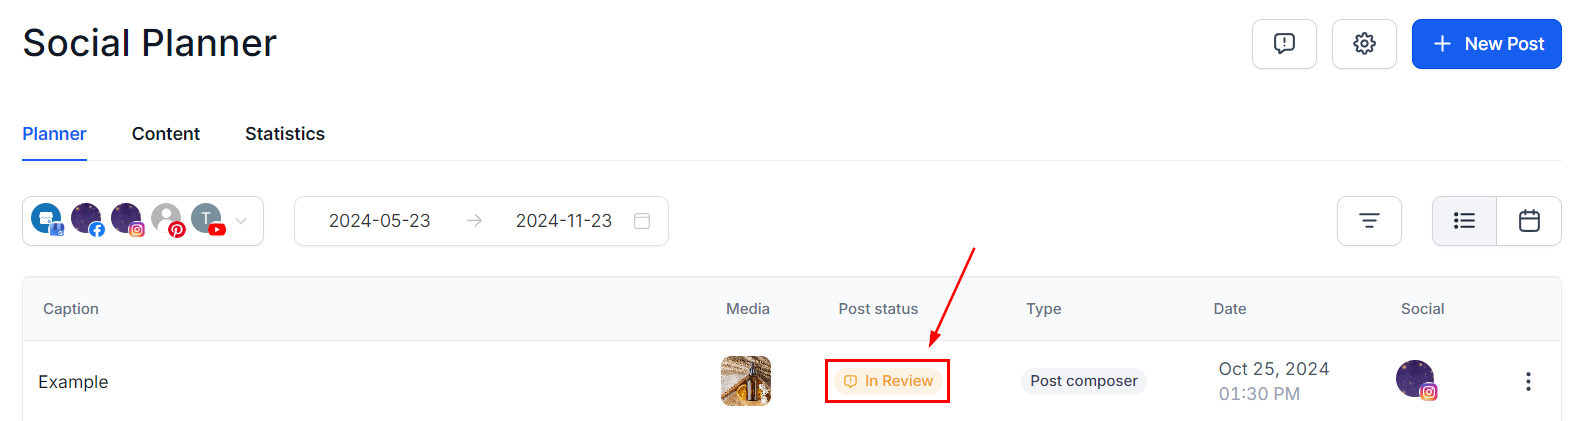
In the "Planner’" section, posts that are pending approval will be marked with the status “In Review”
CVS Posts Approval
Navigate to the Social Planner tab in the Marketing section and click “Upload from CVS” for a bulk import.

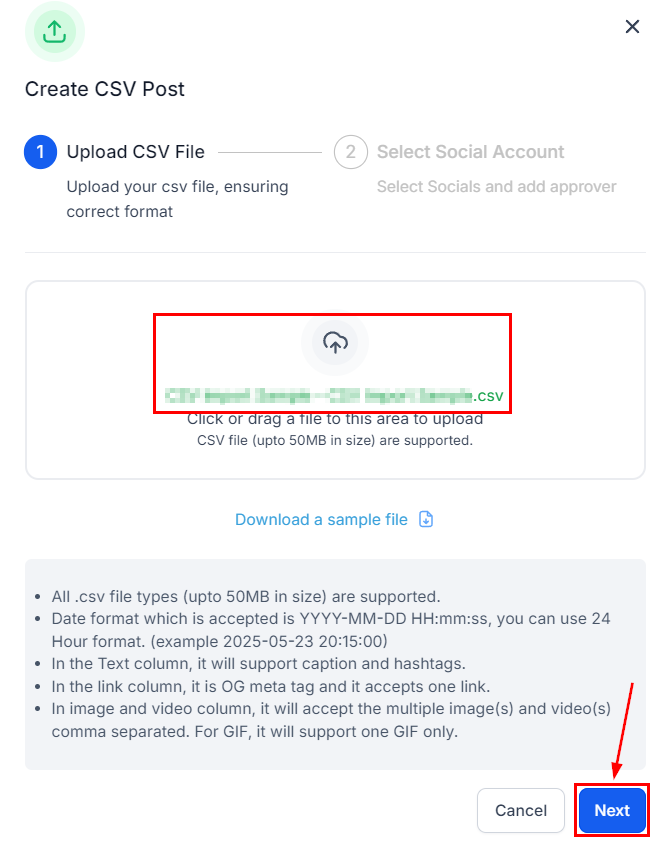
Upload your CSV file as normal then click Next. If you've never done it before we recommend clicking “Download a Sample file” to use as a template for setup.
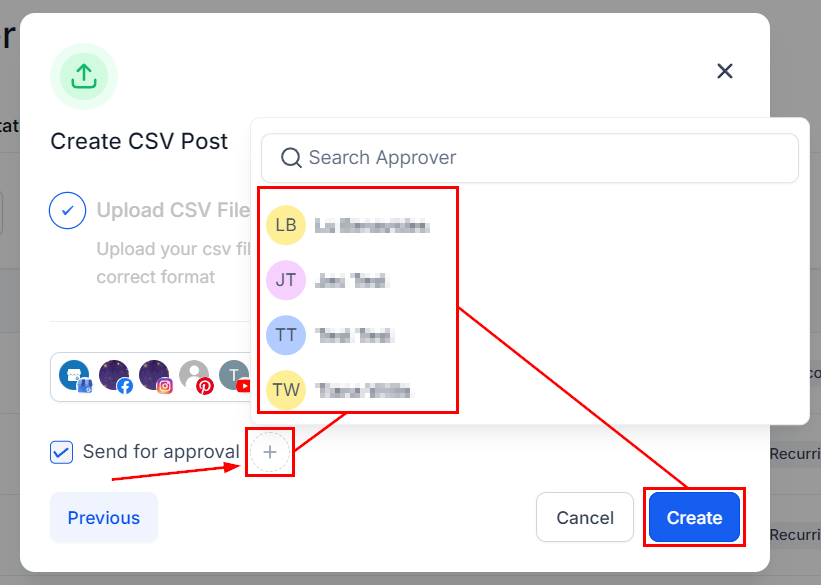
Select the socials you'll be posting to, then check the box next to Send for approval.

Click the + icon to select a Reviewer then click Create.
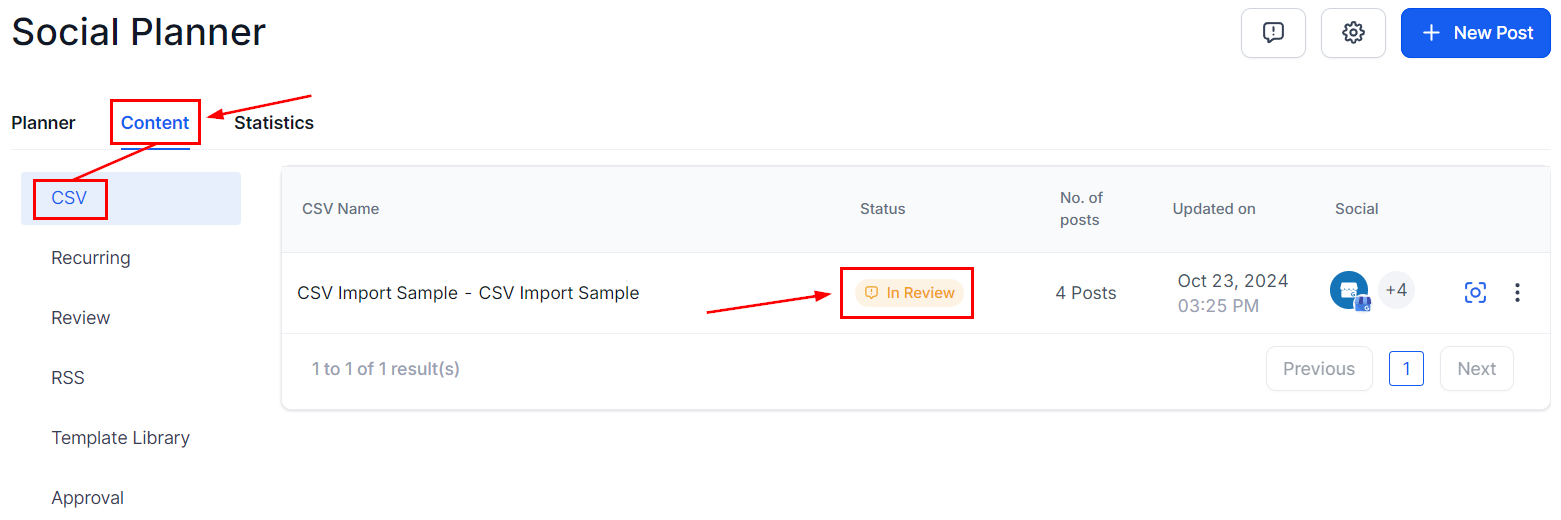
In the "Content’" section, the CSV pending approval will be marked with the status “In Review”
Giving Approval
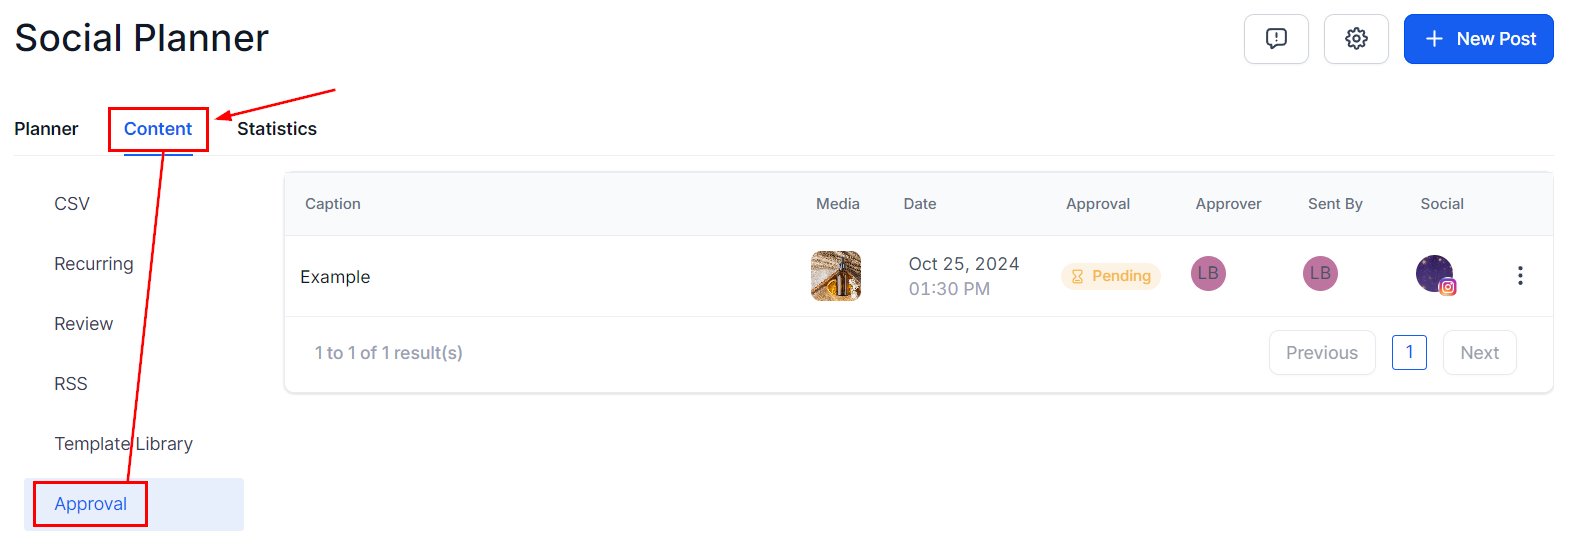
Once the post is scheduled for review an email will be sent to the selected reviewer. Additionally, the reviewer can verify the post in the "Approval" tab under “Content”.
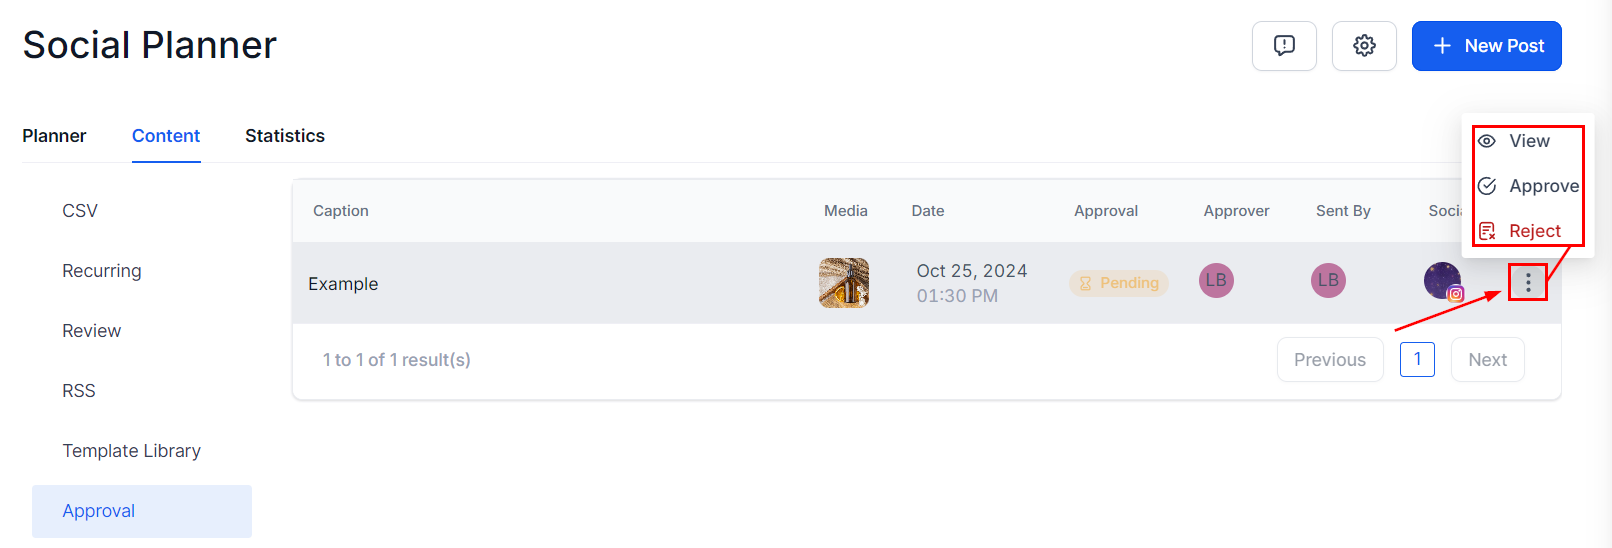
Click the three dots on the right side of the particular post. This will open the options to interact with the post. You can use this menu to directly Approve or Reject the post.
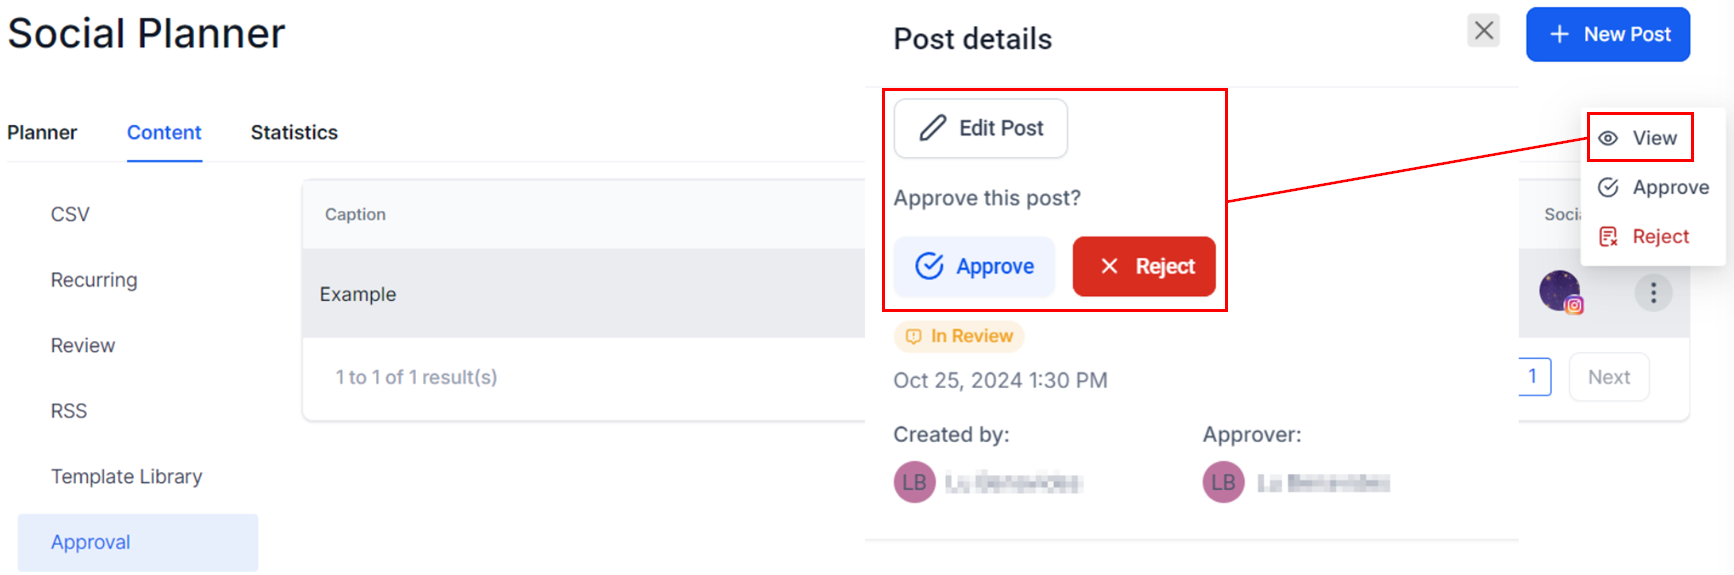
The “View” option will allow users to view the details of posts and then approve or reject them. The reviewer team member can edit the content for the approval flow by clicking "Edit" on the view screen.
Personalizing the Post-Approval Email
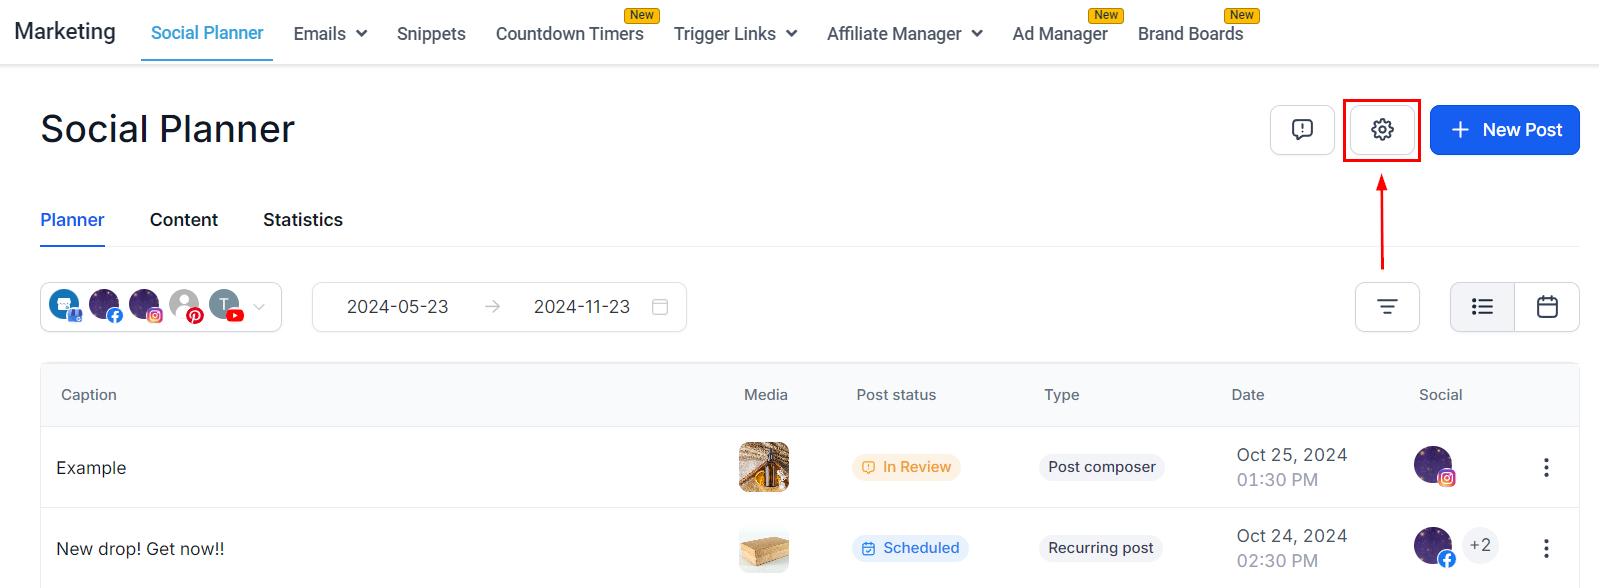
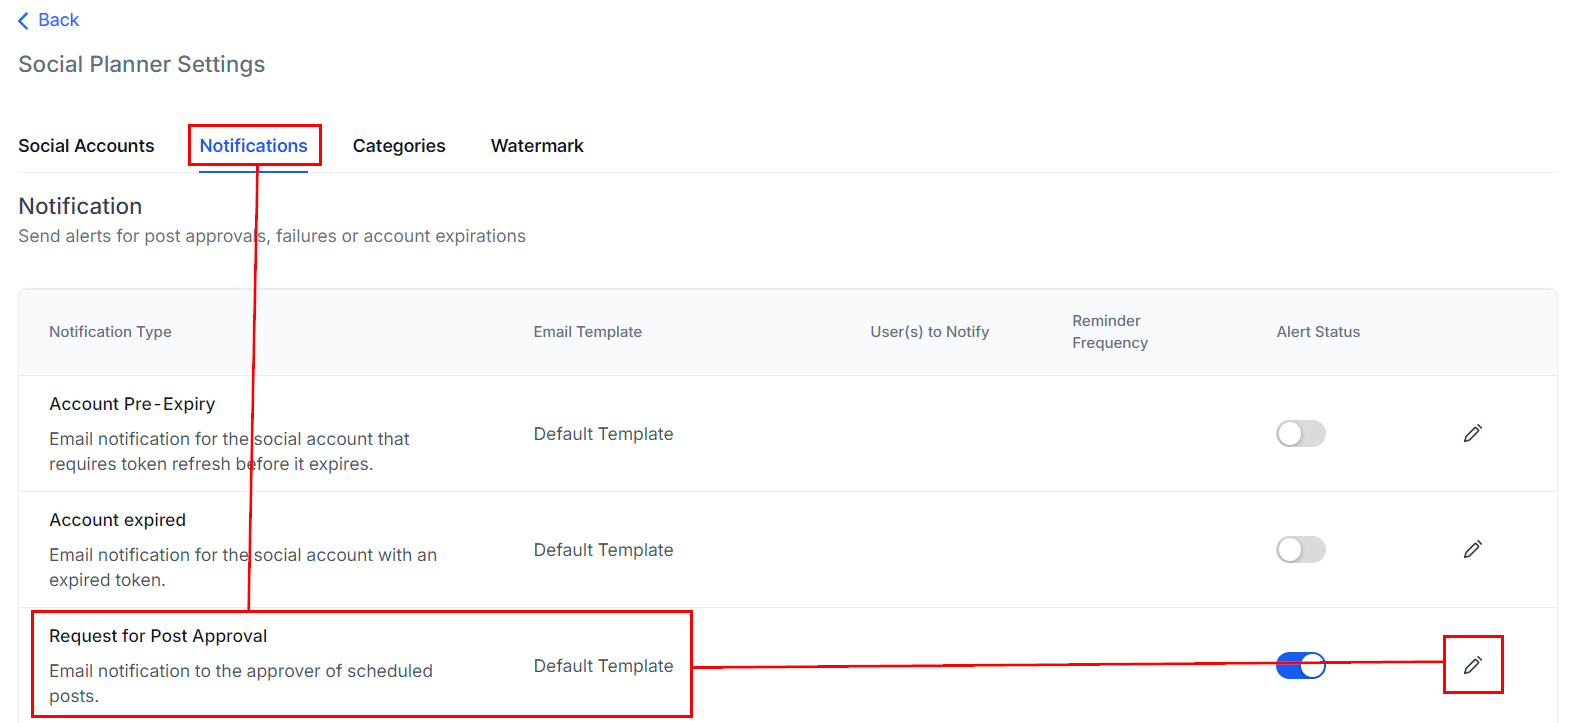
You can set the notification email to use a template of your liking by clicking the gear icon to access the settings.
Go to the Notifications tab and click on the pencil icon next to Request for Post Approval
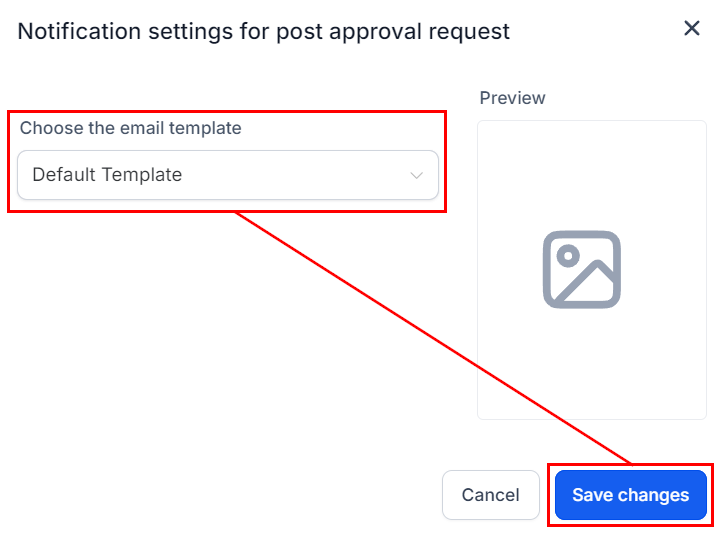
Select your preferred email template from the drop-down menu then click Save Changes.
And there you have it! With the Post Approval Flow in Social Planner, you ensure all social media content is thoroughly reviewed and approved, maintaining quality and consistency across platforms before reaching your intended audience.
Was this article helpful?
That’s Great!
Thank you for your feedback
Sorry! We couldn't be helpful
Thank you for your feedback
Feedback sent
We appreciate your effort and will try to fix the article