Upon creating or opening a chat widget in your account, you will notice the Widget tab on the left panel. This tab allows you to customize the features of your chat widget including selecting a suitable theme, updating the avatar image, and choosing where the chat widget should be positioned on the page. Read on to learn how you can customize the look and feel of the chat widget with different styling options and customizations.
Styles
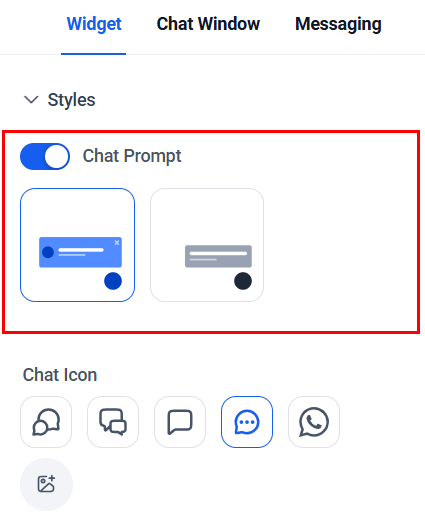
Chat Prompt
Toggle the Chat Prompt switch to display a message above the chat widget. This serves as an effective method for capturing the user's attention and ensuring they are aware of the tool's availability. Additionally, choose whether to display the avatar image by selecting the relevant option.
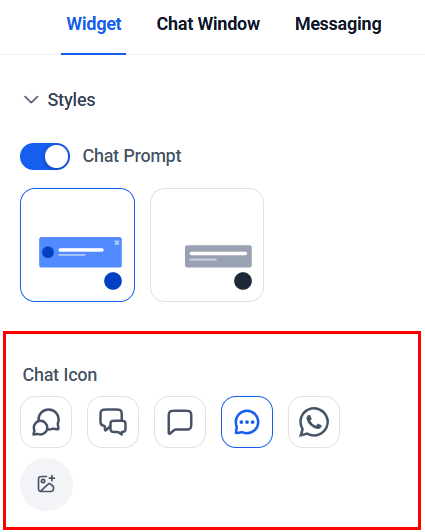
Chat Icon
Choose the icon that best suits your needs, ensuring it aligns with the widget's intended purpose. Add custom icons by selecting the media element and uploading the image from your Media Library.
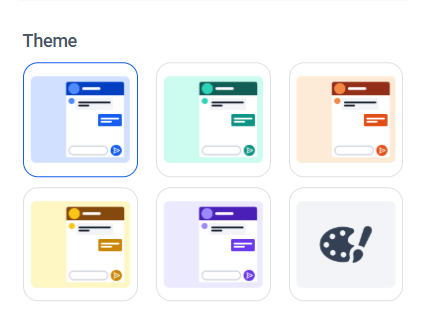
Theme
The Themes section allows you to choose the color scheme of the widget. Choose from available options, or click the palette to configure the color scheme according to your preference.
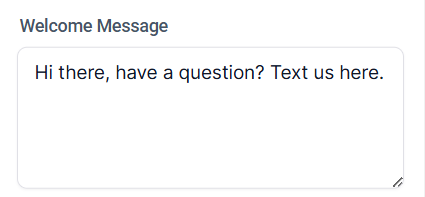
Welcome Message
Enter the welcome message to be displayed for a new website visitor. The text here should either offer support or a marketing communication to get visitors to click on the chat widget.
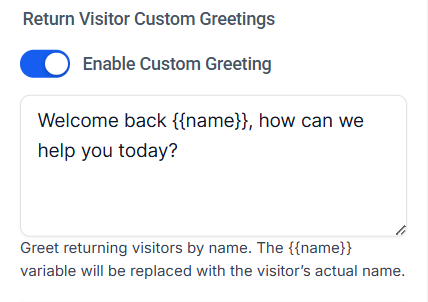
Return Visitors
If you are tracking visitors on your website, you can create a custom message for return visitors and tailor the message to be more personalized. Utilize the {{name}} variable to greet returning visitors by name.
Widget Customization
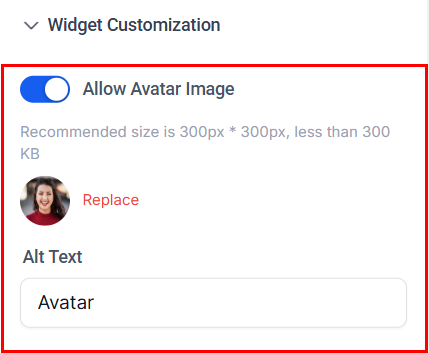
Avatar Image
Toggle the Allow Avatar Image option to display an image of the customer service representative who will be assisting users. This enhances the personalization of the interaction and fosters better client interactions. Alternatively, you may upload an image of the company logo.
For an optimal display, choose an image less than 300 KB with dimensions 300px * 300px.
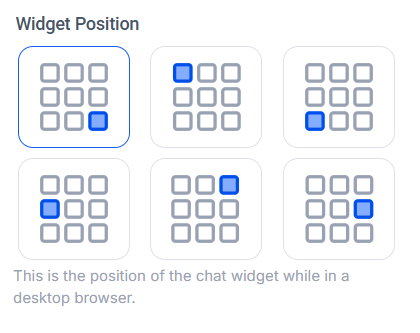
Widget Position
Select the preferred widget position from the available options. This is the position of the chat widget while in a desktop browser.
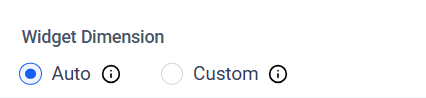
Widget Dimension
Finally, configure the widget dimension settings which can be automatically adjusted according to the screen size, or a standard size of your choosing.
Now you know how to customize the look and feel of the chat widget. Read the other articles in this section to learn more about the Chat Widget.
Was this article helpful?
That’s Great!
Thank you for your feedback
Sorry! We couldn't be helpful
Thank you for your feedback
Feedback sent
We appreciate your effort and will try to fix the article