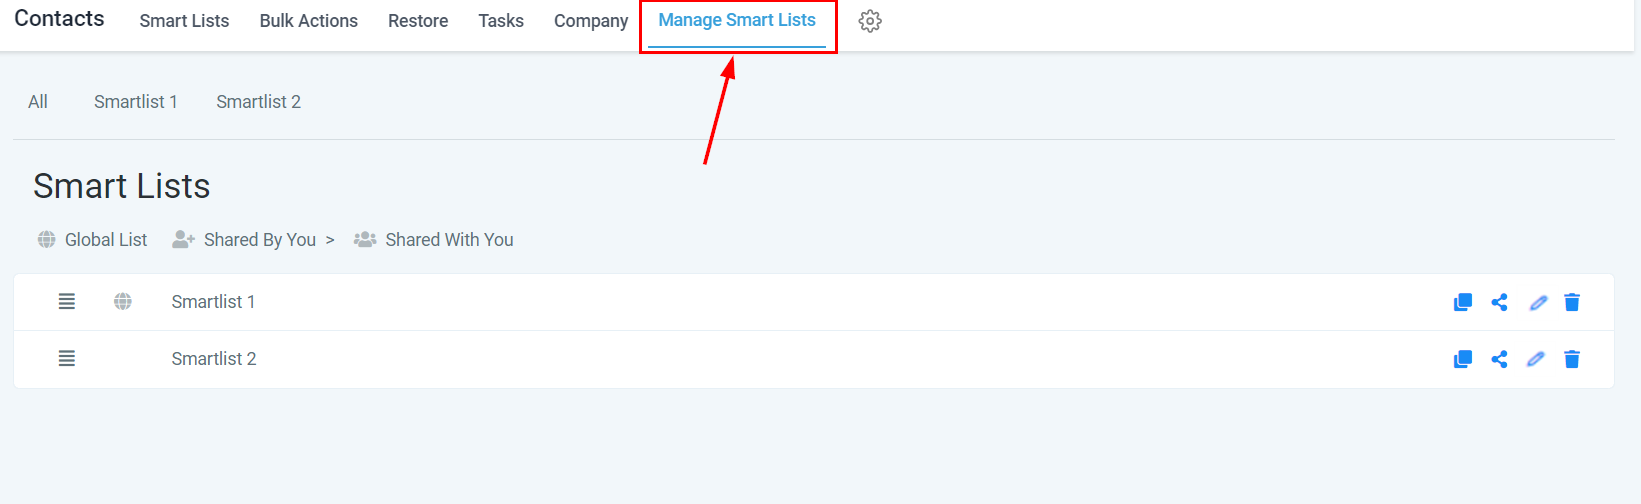
Managing your smart lists is straightforward when you navigate to the Manage Smart Lists section under the Contacts tab. Here, you can access and control all the smart lists you’ve created, allowing for efficient viewing and editing. This centralized location facilitates the organization and modification of your smart lists.
Smart List Card
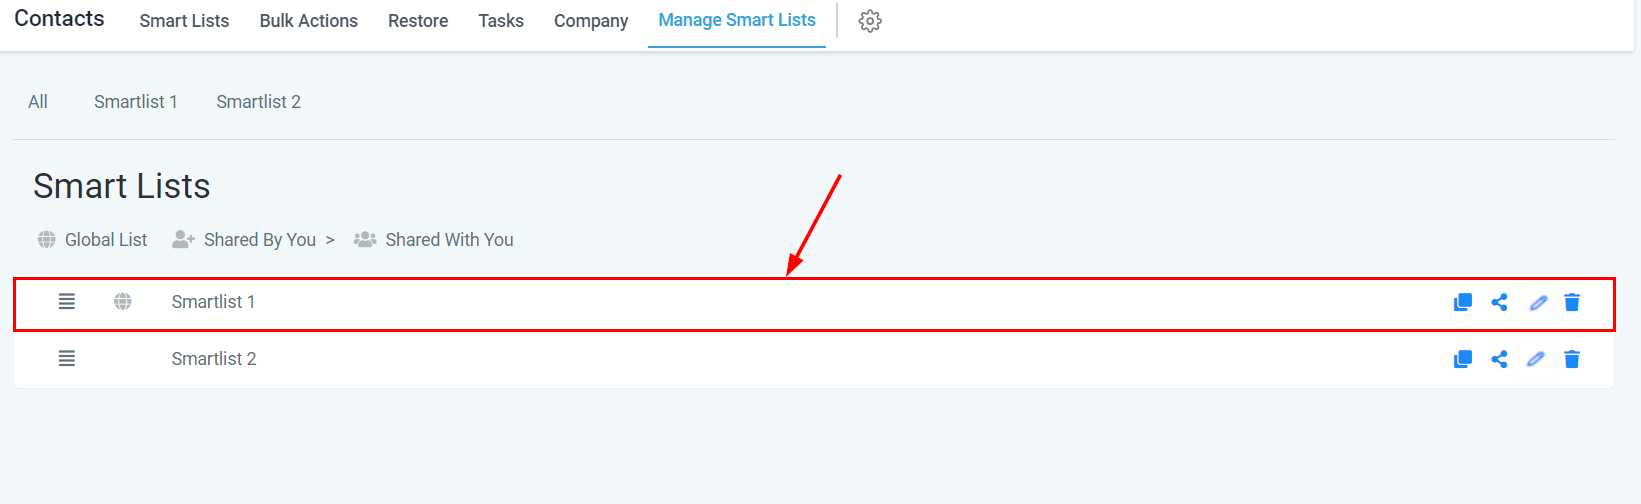
Each smart list you create is assigned a unique table card. These cards help organize your smart lists efficiently, allowing for easy rearrangement as needed. On the far right of each card, you will find quick action buttons that provide streamlined access to various functions, simplifying your management of smart lists.
Drag and Drop
To organize your smart list table, utilize the drag-and-drop icon. Click and hold this icon to reposition the smart list above or below other entries within the table, ensuring a customized and orderly arrangement according to your preferences.

Smart List Quick Actions
The quick actions menu offers comprehensive management options for your smart lists. You can edit names, duplicate existing lists, delete those that are no longer needed, and share them with other users in your account. These options provide flexibility and control, supporting effective collaboration and organization.
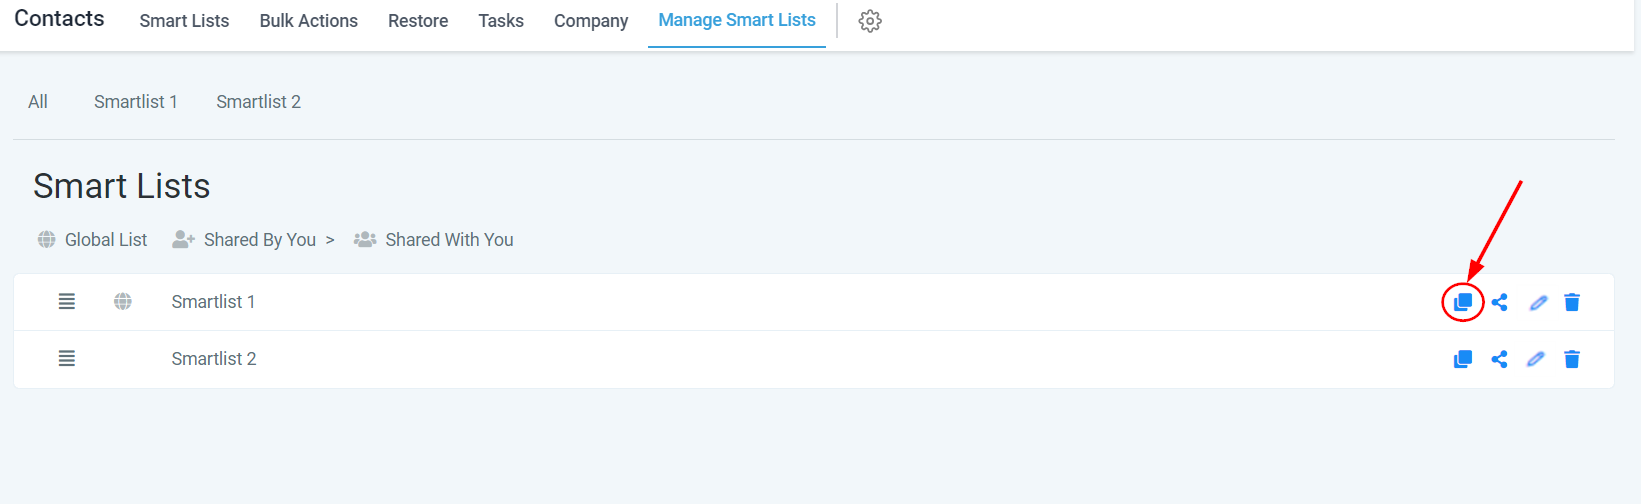
Duplicate Smart List
Use this button to create a copy of an existing smart list, which is useful for replicating a set of filters from another list.
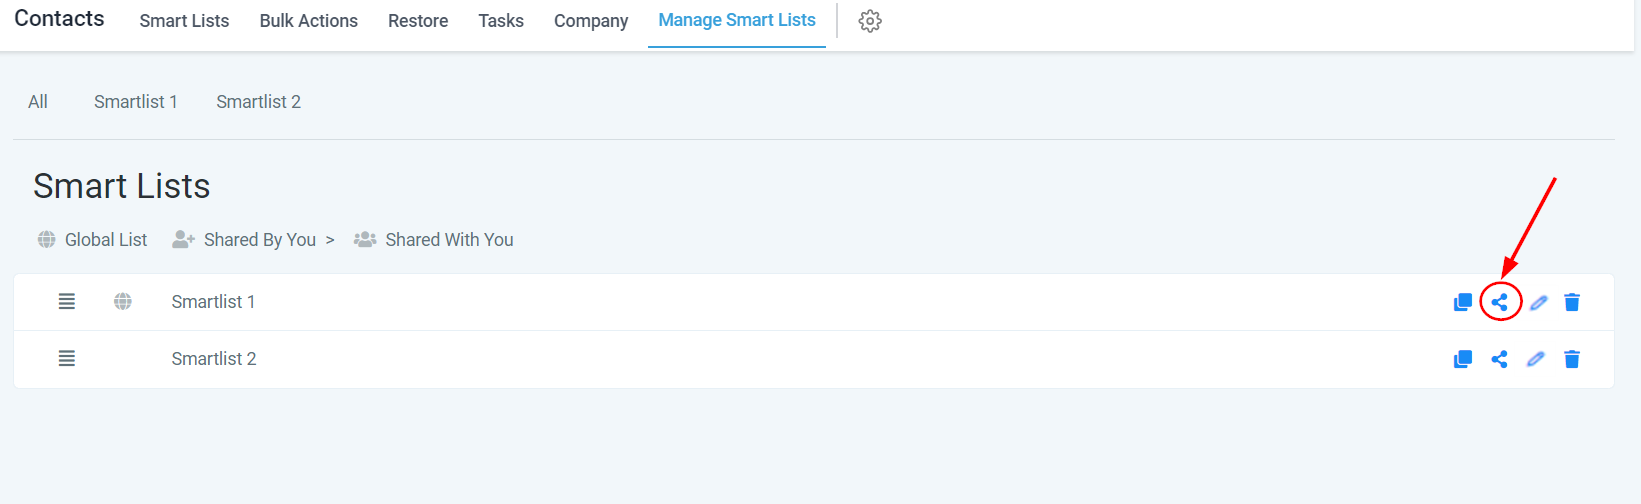
Sharing Smart Lists
You can choose to share smart lists either with all users or select individuals.
Icons next to each smart list in the settings area indicate the sharing status:
- Globally Shared: The smart list is shared with every user in your account.
- User-Created Share: The smart list was created by you and shared with others.
- Shared with You: The smart list was created by another user and shared with you.
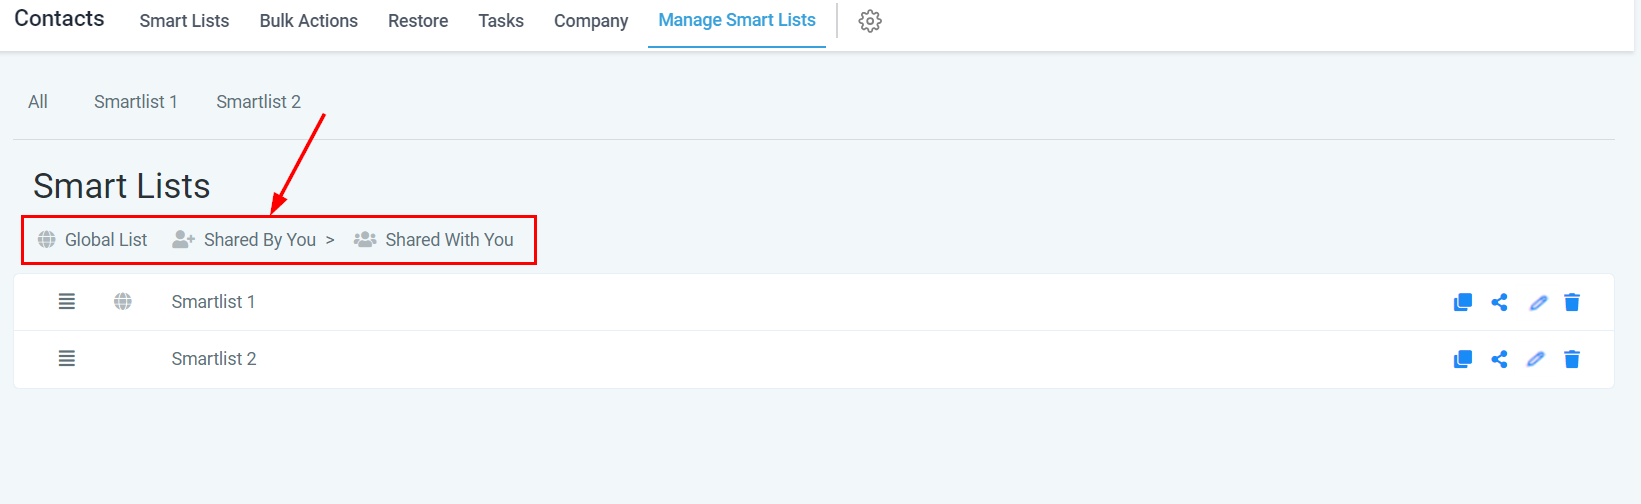
Smart lists without an icon will only be visible to you.
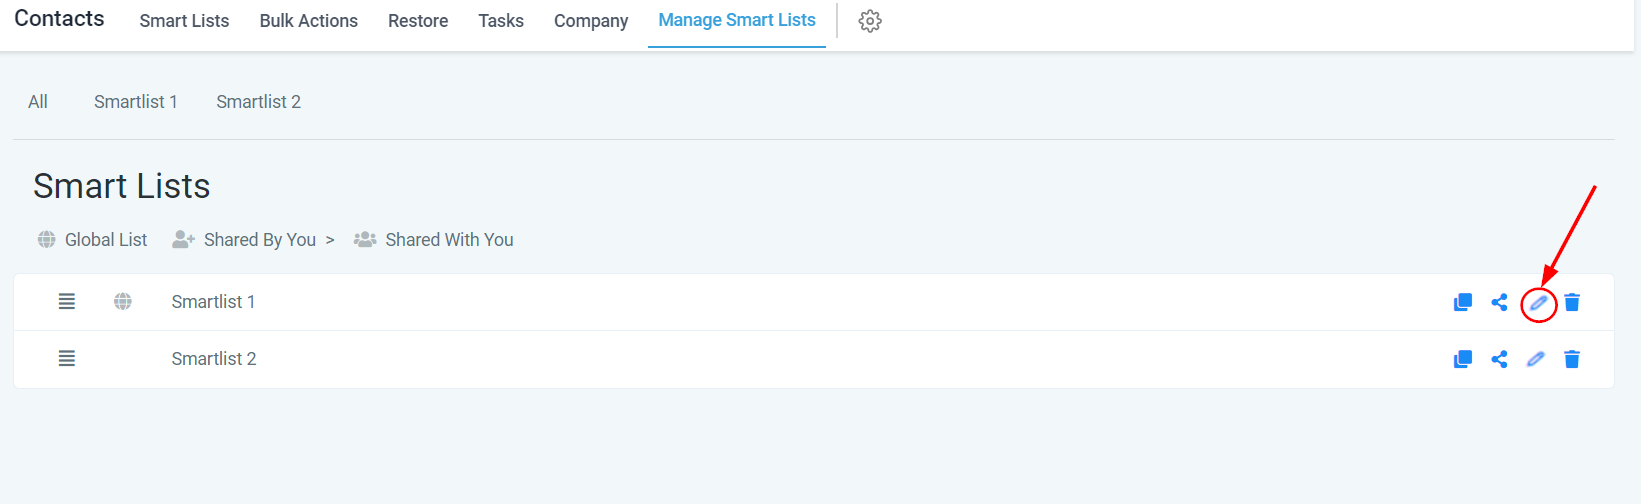
Edit Smart List Name
This button allows you to modify the name of your smart list.
Delete Smart List
To delete a smart list, select this button. Note that while the smart list will be removed, the contacts within it will remain in your account.
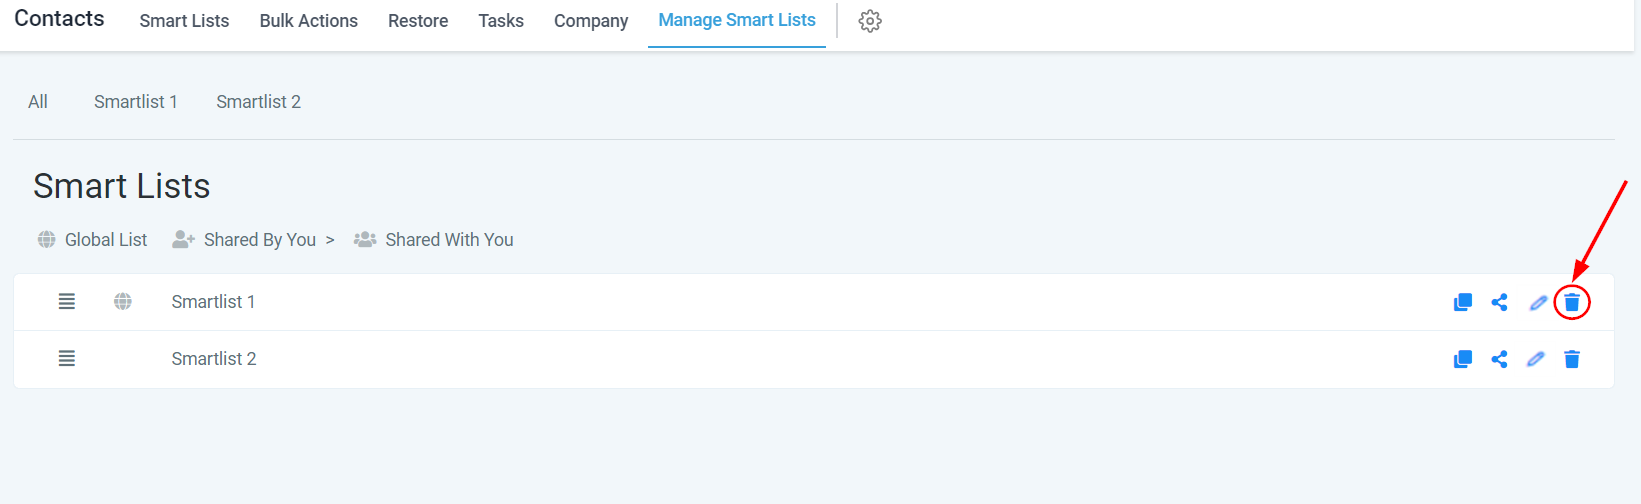
?Note: To delete a smart list that you have shared, you must first revoke access for all other users.
Efficient smart list management is key to optimizing your CRM. Use the Manage Smart Lists section for quick access, customization, and control over all your lists.
Frequently Asked Questions
Q: What if my smart list isn't updating?:
- Ensure that the filters are correctly set and that the criteria match the contacts you expect to see. Sometimes, adjusting or removing certain filters can resolve the issue.
Q: Can I share smart lists with team members?:
- Yes, smart lists can be shared with team members in your account. Look for sharing options within the smart list settings.
Was this article helpful?
That’s Great!
Thank you for your feedback
Sorry! We couldn't be helpful
Thank you for your feedback
Feedback sent
We appreciate your effort and will try to fix the article