Want to streamline your Shopify store management? With the power of integration, you can bring your Shopify operations into the CRM, making it easier to track orders, manage products, and engage with customers—all from one centralized platform. This guide outlines the steps required to connect your Shopify store, enabling you to manage it directly from within the CRM. The integration process involves two main steps:
- Create a Custom App in Your Shopify Store.
- Connect Shopify to Your Account.
Creating a Custom App
Before setting up the integration, you must create a custom app in your Shopify store.
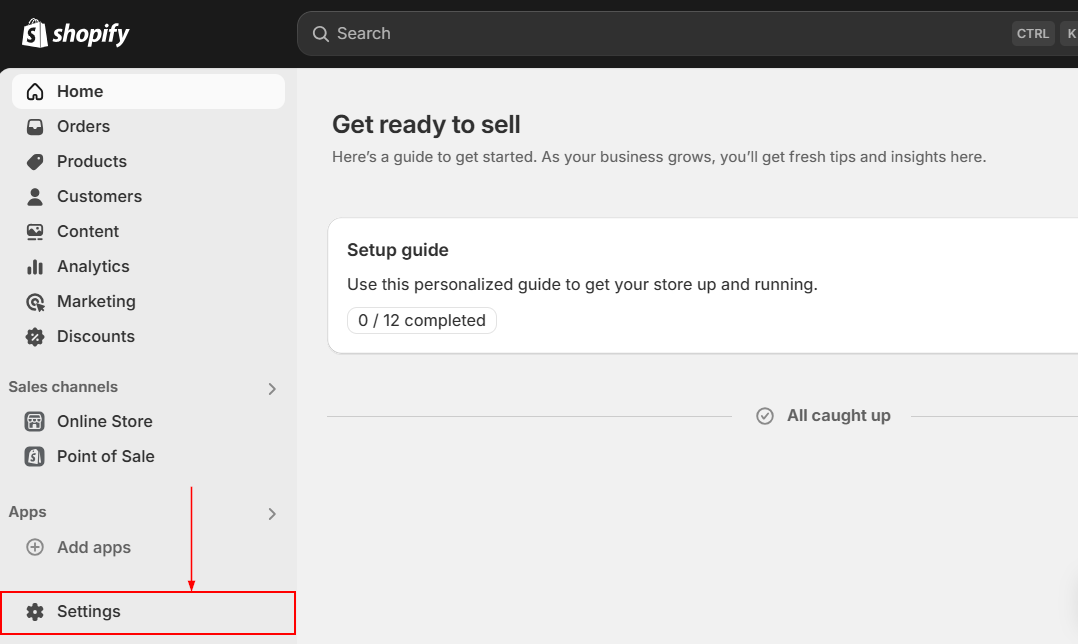
Select Settings
To start, log in to your Shopify store and navigate to the settings section.
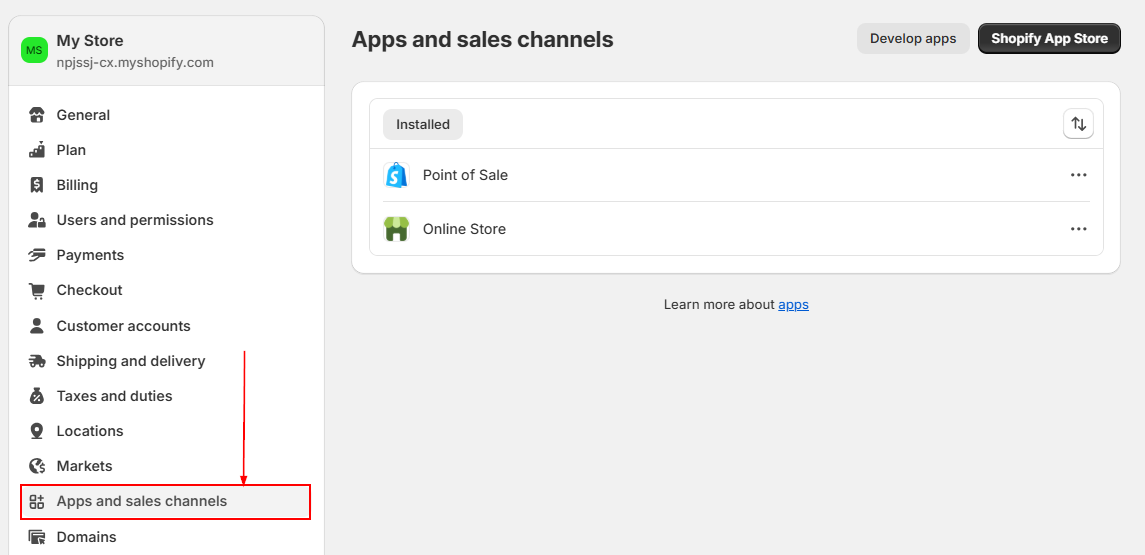
Select "Apps and sales channels" in Shopify Dashboard
Click on "Apps and sales channels" in your dashboard.
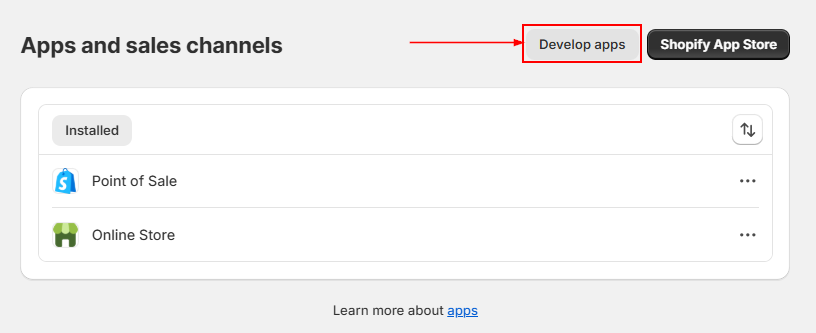
Develop Apps
Click on "Develop apps" at the top of the screen.
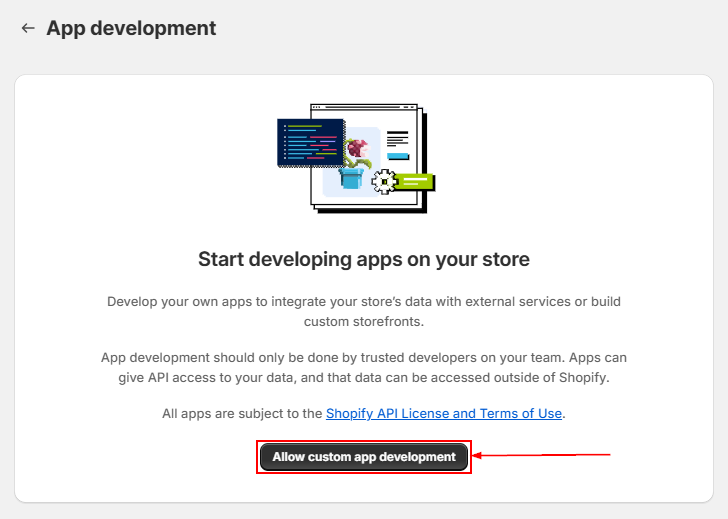
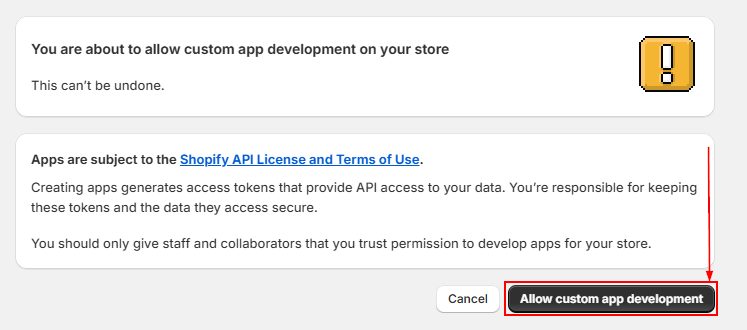
Authorize Custom App Development
Click on "Allow custom app development." If already enabled, proceed to create the app.
Custom App Creation Warning
You may see a warning about creating custom apps. Read and acknowledge it to continue.
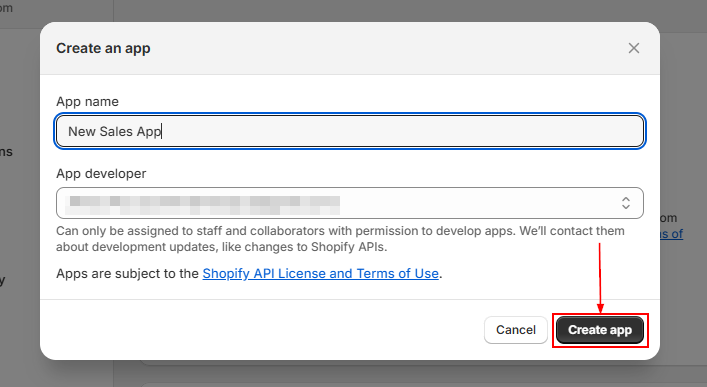
Create an app
Click on “Create an app.”

App Name and Email
Enter a name for the app (e.g., "Marvel's App"), select your email under App Developer, and click on “Create app.”
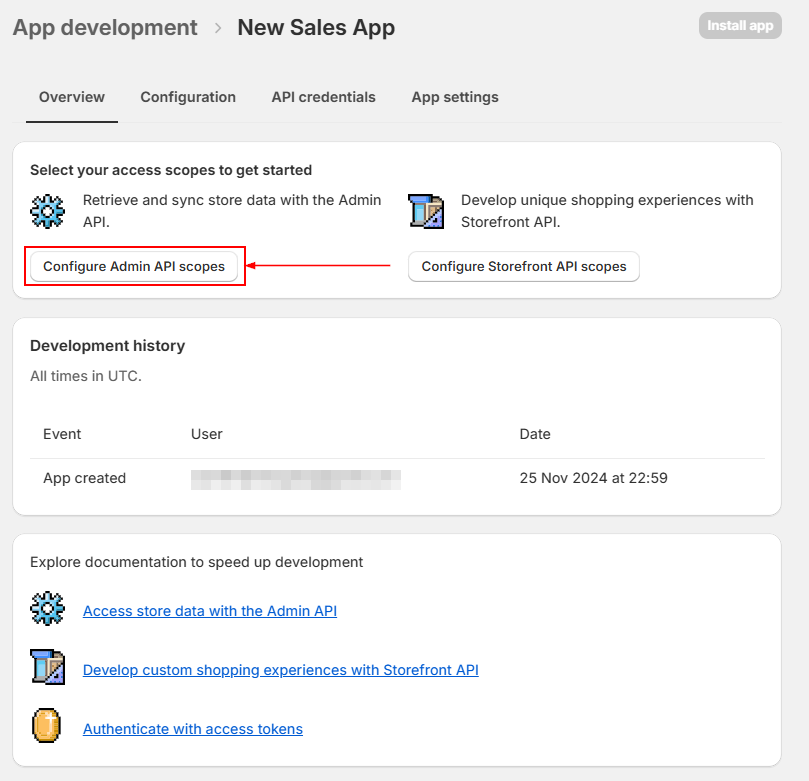
Configuring Admin API Scopes
After creating the app, configure Admin API integration.
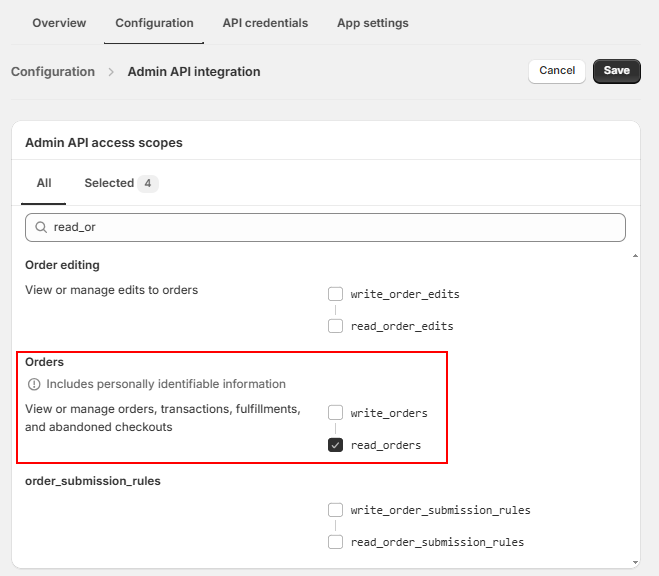
Read Access
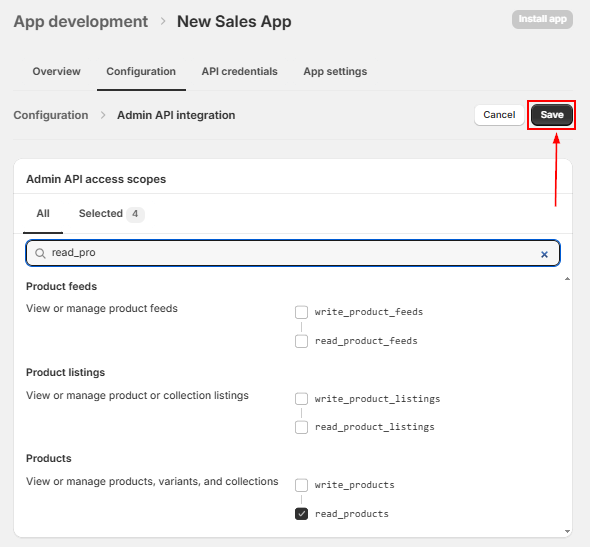
Enable "read_orders" access under “Orders.”
Enabling Read Product Access
Enable "read_products" access under “Products.”

Saving the Modifications made to the App
Save the app by clicking "Save" at the top right.
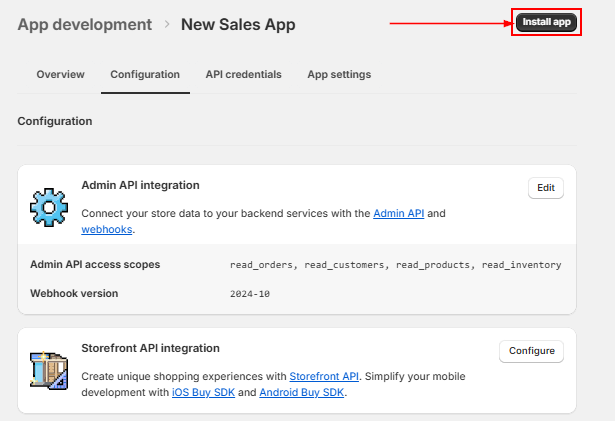
Installing the App
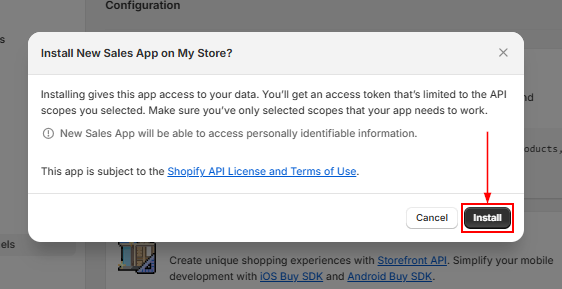
Click on "Install app" and confirm the installation.
Click on "Install" and confirm the installation.
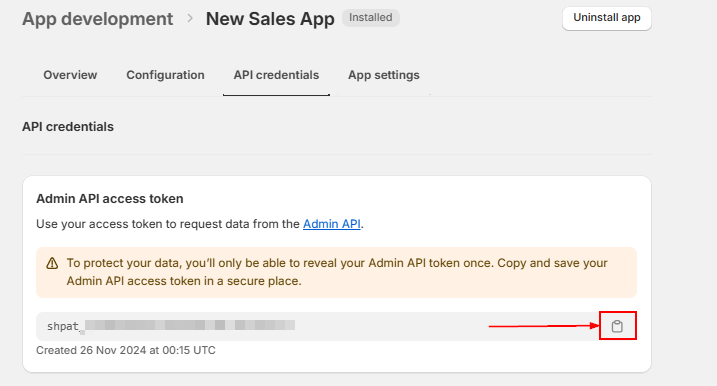
Getting API Access Token
After installation, find the "Admin API access token" under API credentials and click "Reveal token once" to access it.
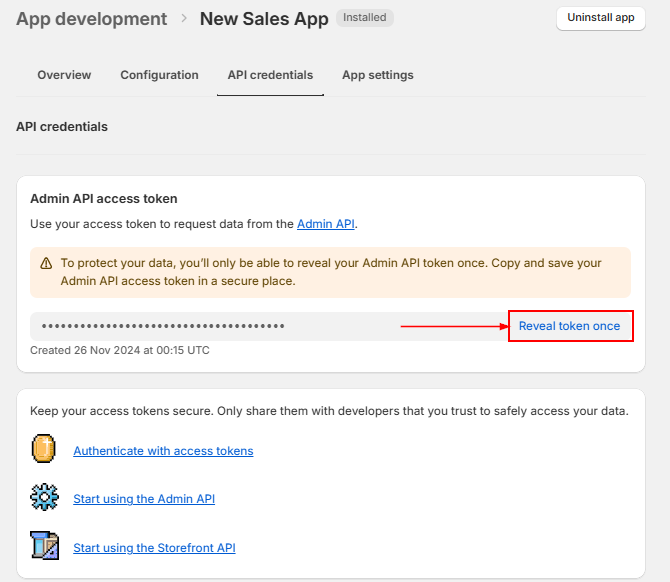
Copying the Access Token
Copy the "Admin API access token" by clicking the clipboard icon.
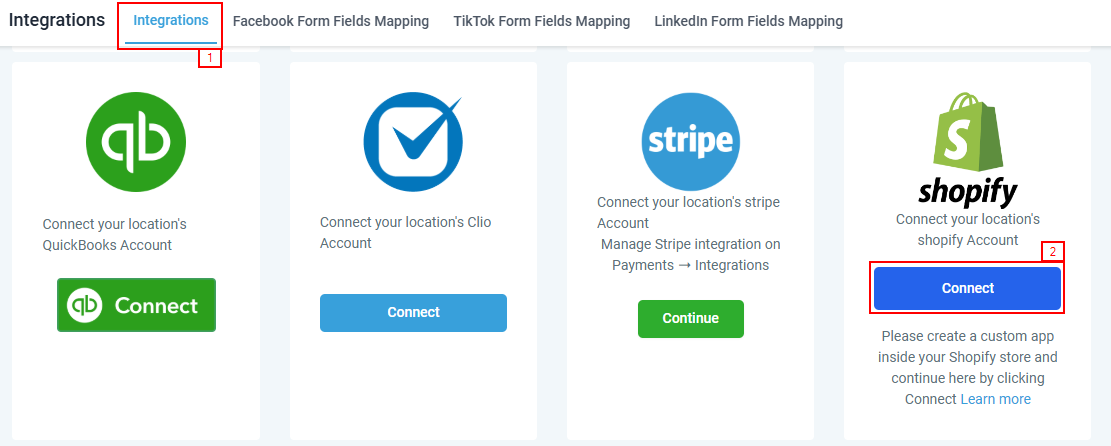
Connecting Shopify to your CRM System
Go to the Settings > Integration area of your CRM and click on the "Connect" tab to integrate your Shopify store.
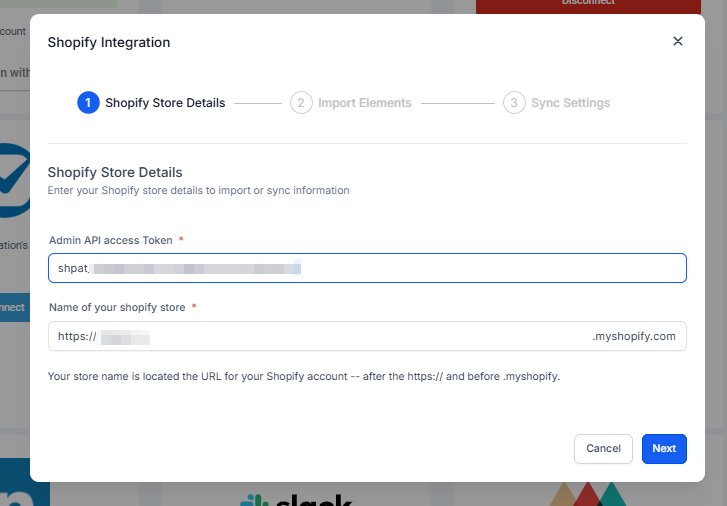
Setting up the Store
Paste the "Admin API access token," enter the "Name of your Shopify store," and click "Connect."
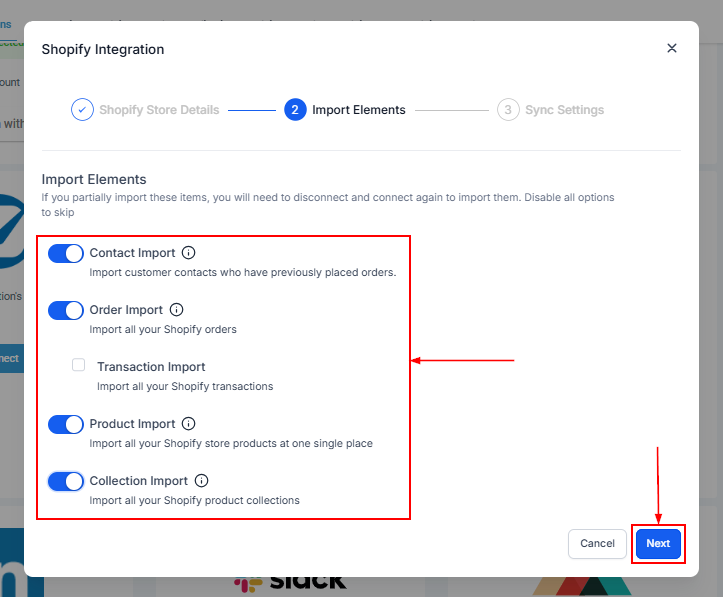
Import Elements
Toggle on the elements you wish to sync between Shopify and the CRM, such as orders or customer data.
Sync Settings
Check all the available checkboxes to ensure complete synchronization of data between your Shopify store and CRM.
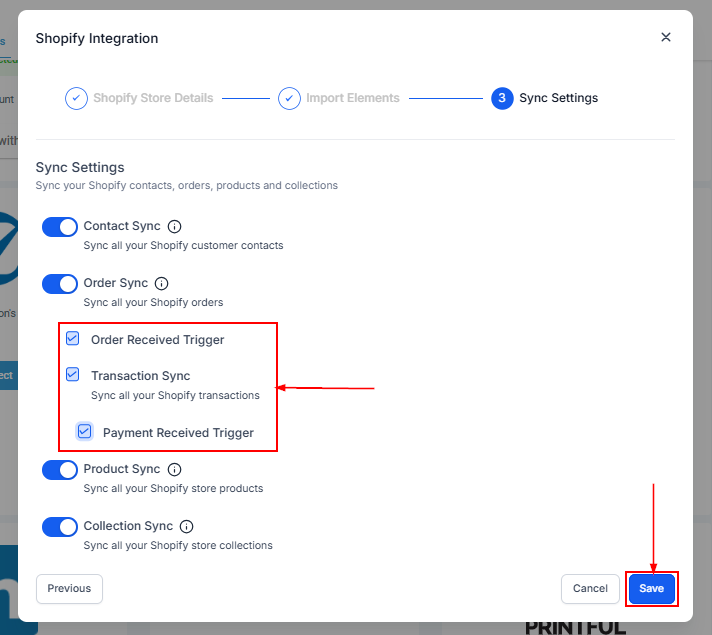
Your Shopify integration is now complete! You can manage the store using various advanced features in the CRM.
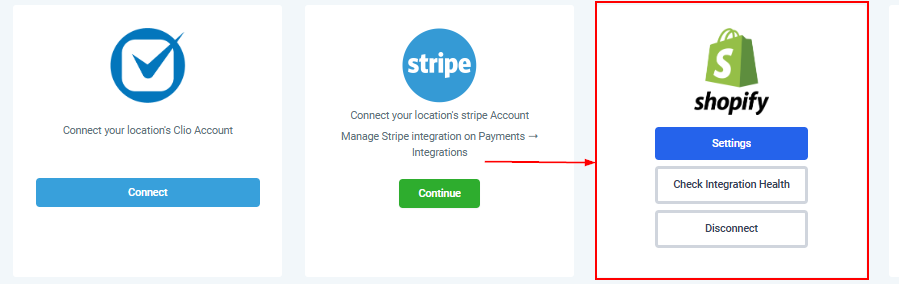
This is what a fully integrated Shopify account looks like.
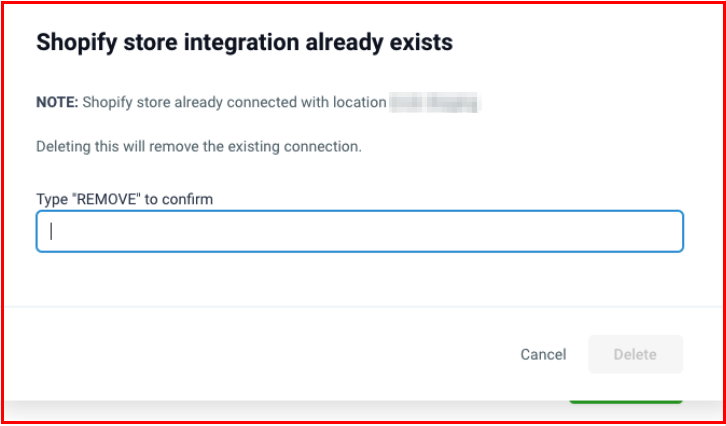
Remove existing Shopify integrations
Upon entering the Access token and Shopify store name, if the store is already integrated, the user will be presented with the option to remove the existing integration and re-integrate the store to the desired location.
Using different Shopify Elements
Here we can learn how you can manage the store using the advanced feature.
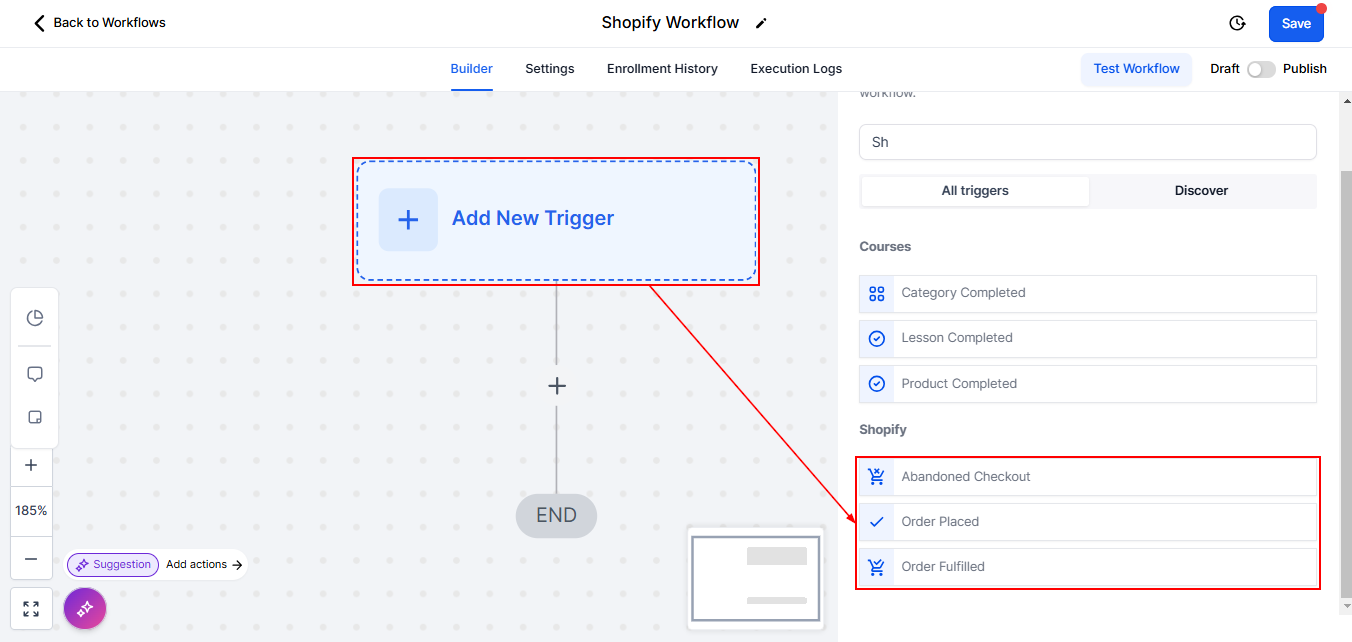
Workflow Trigger
With workflow triggers, we can set the system to perform actions like sending offers to customers who abandon their checkout.
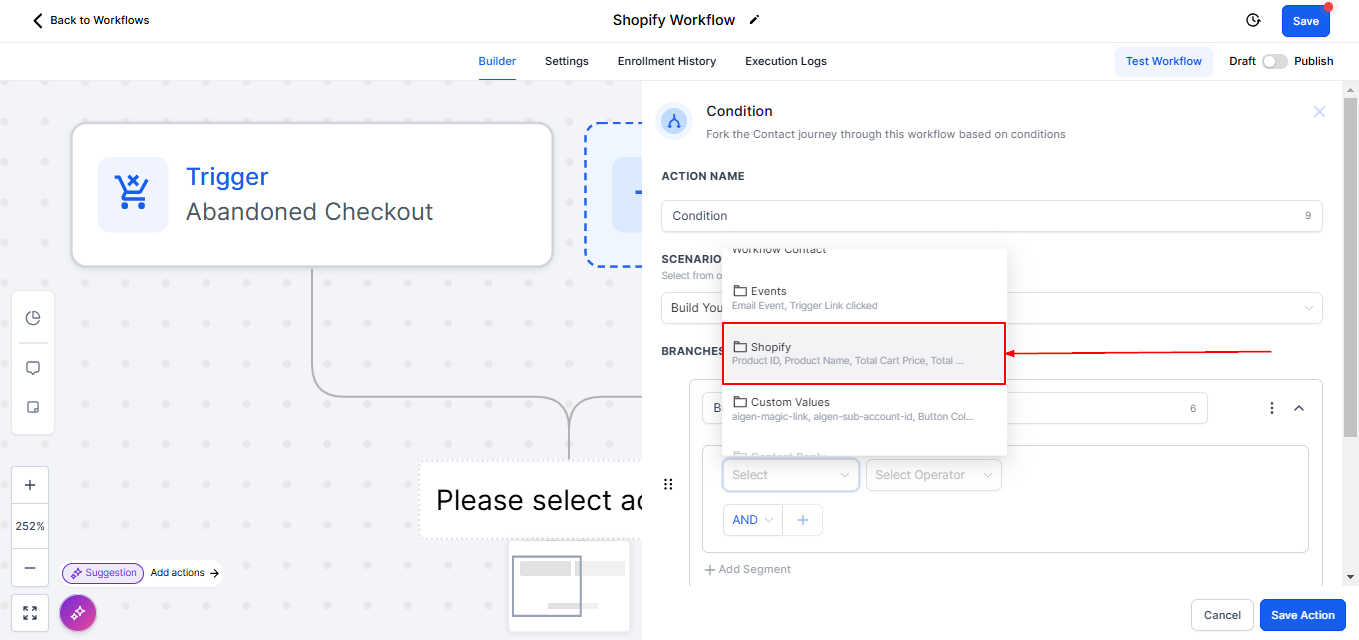
Workflow Actions > If/Else Conditions
Establish specific conditions for the system to execute workflows.
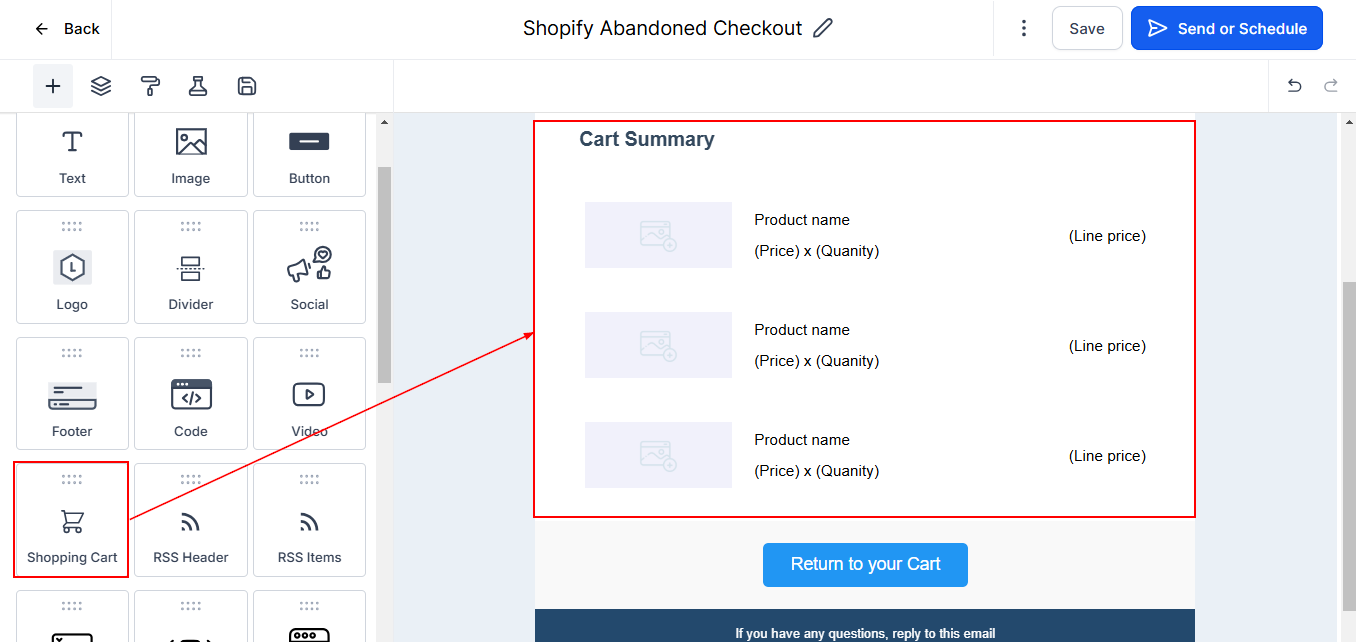
Email Builder
Utilize shopping cart elements to build tailored emails.
That’s it! By integrating Shopify with your CRM, you’ve unlocked a powerful tool for managing your store efficiently and delivering an exceptional customer experience. From syncing orders to automating workflows, the possibilities are endless.
Was this article helpful?
That’s Great!
Thank you for your feedback
Sorry! We couldn't be helpful
Thank you for your feedback
Feedback sent
We appreciate your effort and will try to fix the article
