To enhance your experience when managing opportunities, a dedicated Payments tab is available within each Opportunity. This provides easy access to create and send estimates and invoices directly from the opportunity. Additionally, you can view all transactions, including invoices and estimates, that are linked to the opportunity, all within the same section.
How It Works
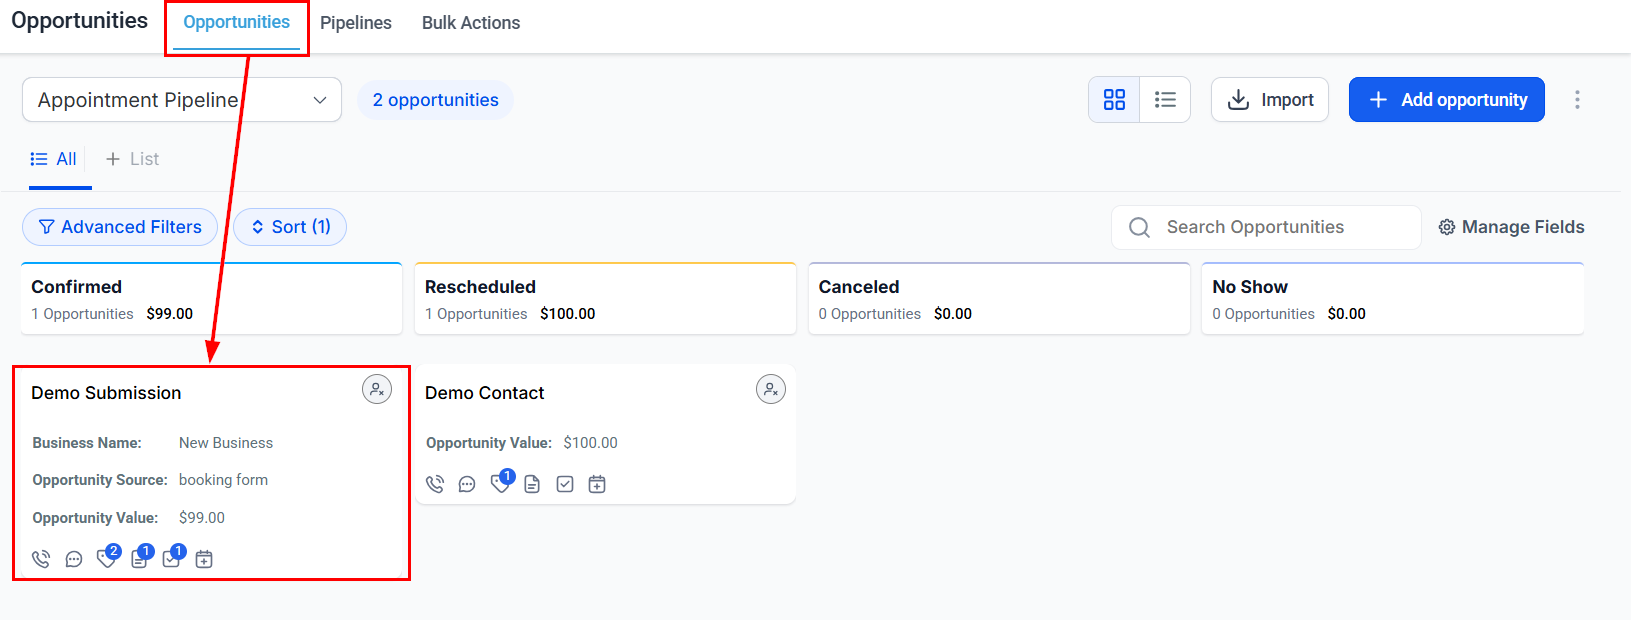
Begin by navigating to the Opportunity section. Once there, open the specific opportunity you wish to work on.
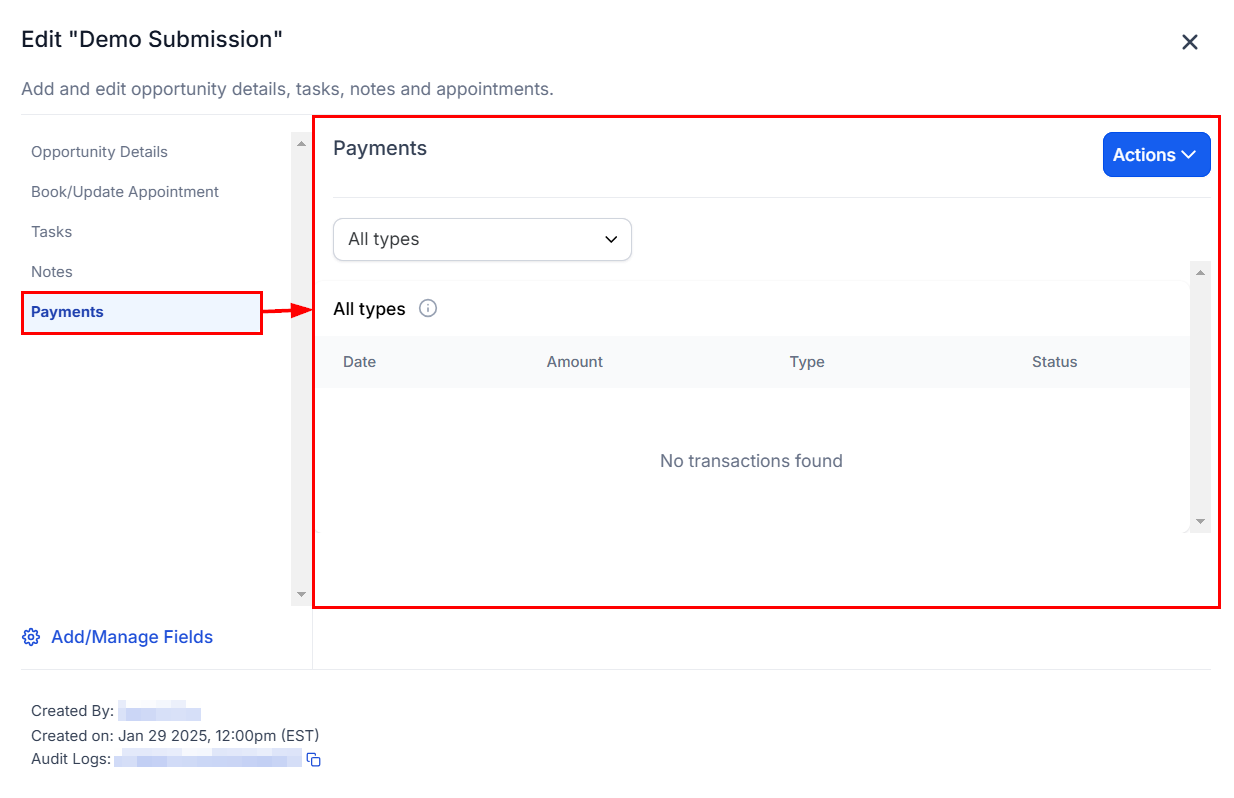
Within the opportunity, locate and click on the Payments tab.
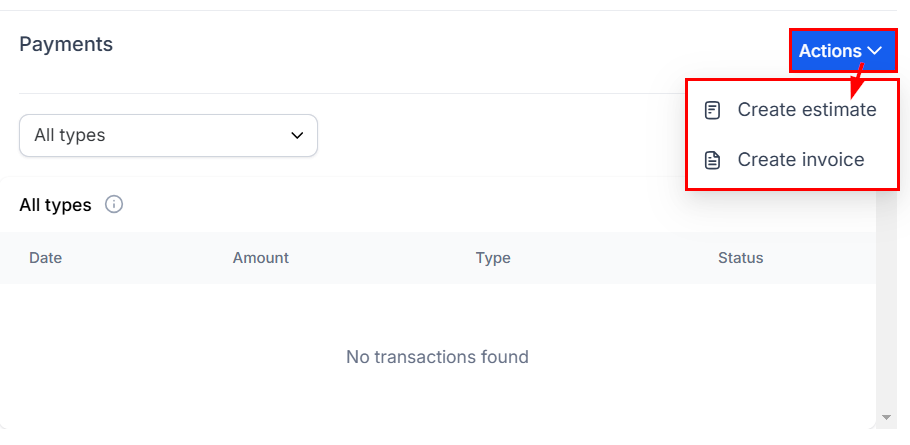
In the Payments tab, click on the Actions dropdown menu, and select Create Estimate/Invoice.
Upon selection, you will be redirected to the Invoice or Estimate page, where contact details will automatically be pre-populated for your convenience.
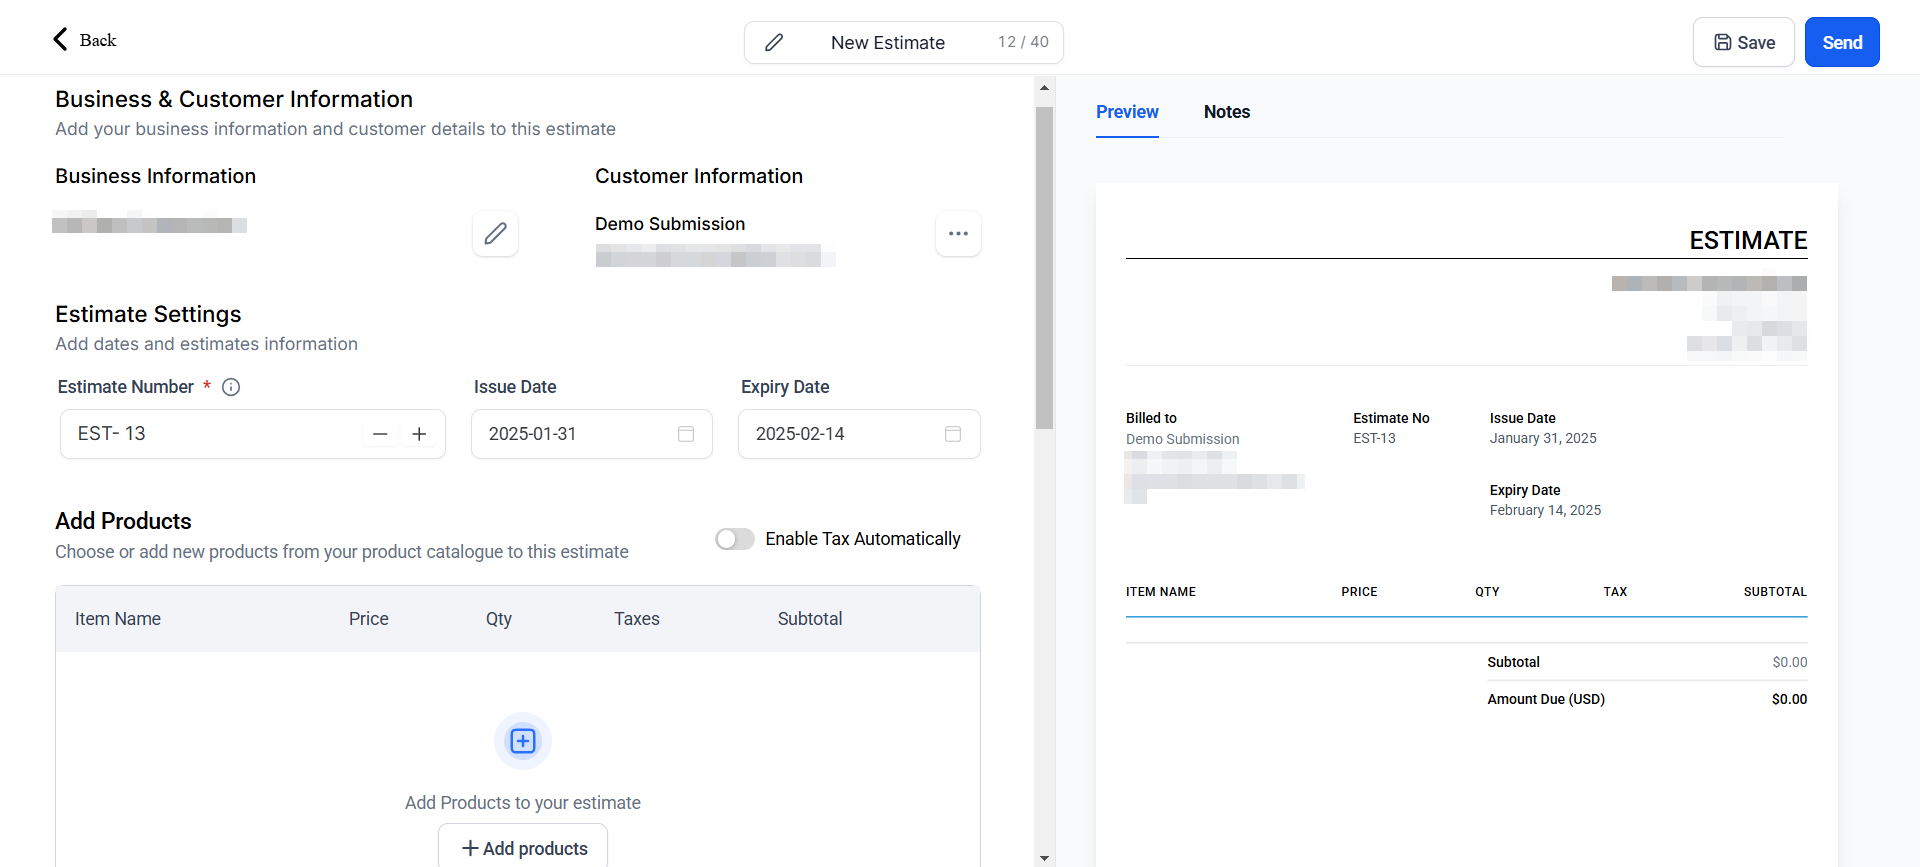
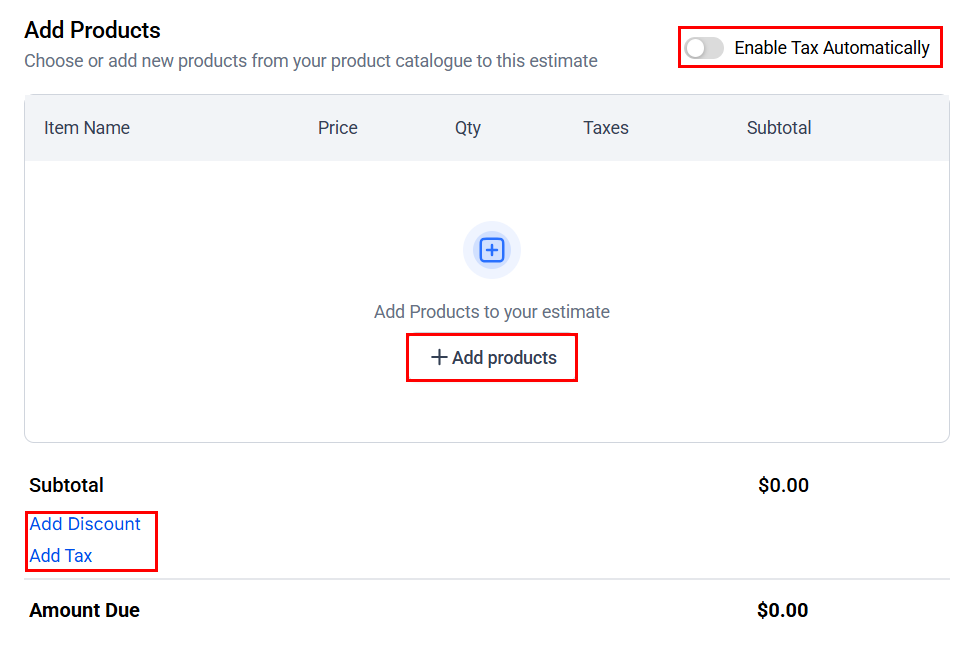
Add products, configure your tax and discount preferences, and adjust the additional invoice/estimate settings as needed.
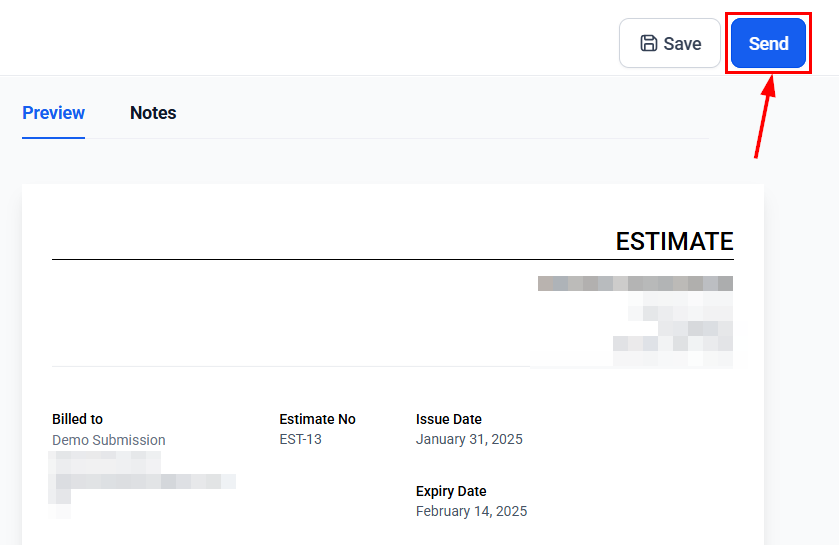
Once you have done so, review and finalize the estimate or invoice, then click the Send button. After sending, you will be automatically redirected to the opportunity.
You can now view all transactions related to the opportunity, including the invoice/estimate creation date, transaction amount, type, and status.
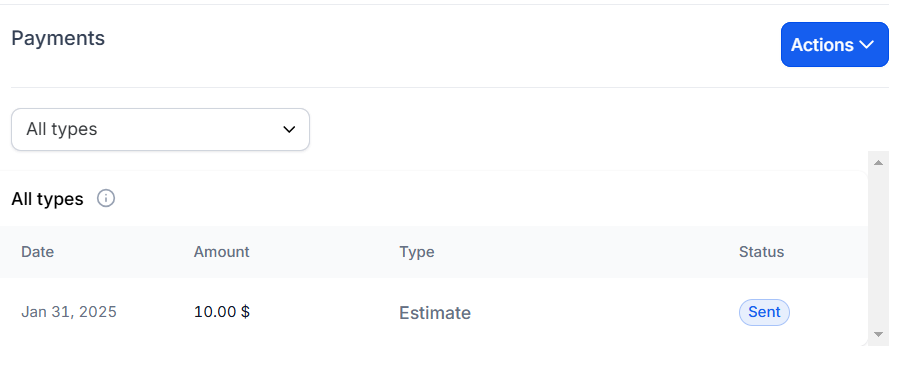
Furthermore, you can filter the list to view all the estimates, invoices, or transactions associated with the opportunity.

This streamlined workflow simplifies managing estimates and invoices directly within the context of a given opportunity, saving time and ensuring accurate record-keeping.
Was this article helpful?
That’s Great!
Thank you for your feedback
Sorry! We couldn't be helpful
Thank you for your feedback
Feedback sent
We appreciate your effort and will try to fix the article