The calendar consent checkbox is a key feature designed to obtain explicit consent from users before they receive SMS notifications related to their appointments. This article will guide you through the process of setting up and integrating the consent checkbox, ensuring that your SMS communications are both compliant and transparent. By implementing this feature, you can enhance trust with your clients while adhering to regulatory standards.
Setting Up the Consent Checkbox
To activate and configure the consent checkbox within your calendar settings, follow these steps:
Go to the "Calendar Settings" section. Click the three dots next to the calendar you wish to modify, then select “Edit.”

Navigate to the "Forms and Payments" area and locate the "Consent Checkbox" option. By default, this option is enabled for new calendars, but you can toggle it on or off as needed. If you wish to use a custom message, you can modify the default consent message to better suit your requirements.

This setup ensures that every time someone books an appointment, they must check the consent box, thereby acknowledging that they agree to receive communications related to their appointment.
Implementing the Consent Checkbox in Funnels
After configuring the consent checkbox in your calendar settings, you can incorporate it into your funnels to visually demonstrate how it appears to end-users. Here's a simple process:
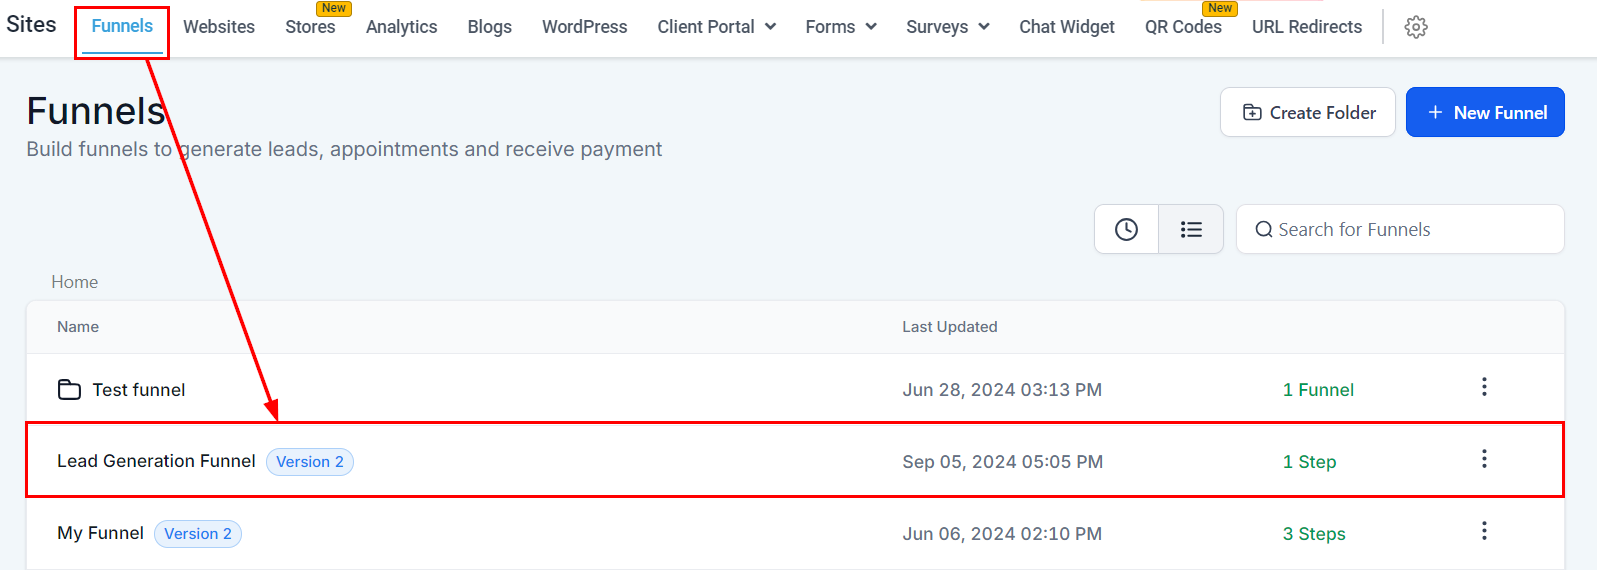
Access the "Sites" area and open the funnel you're working with.
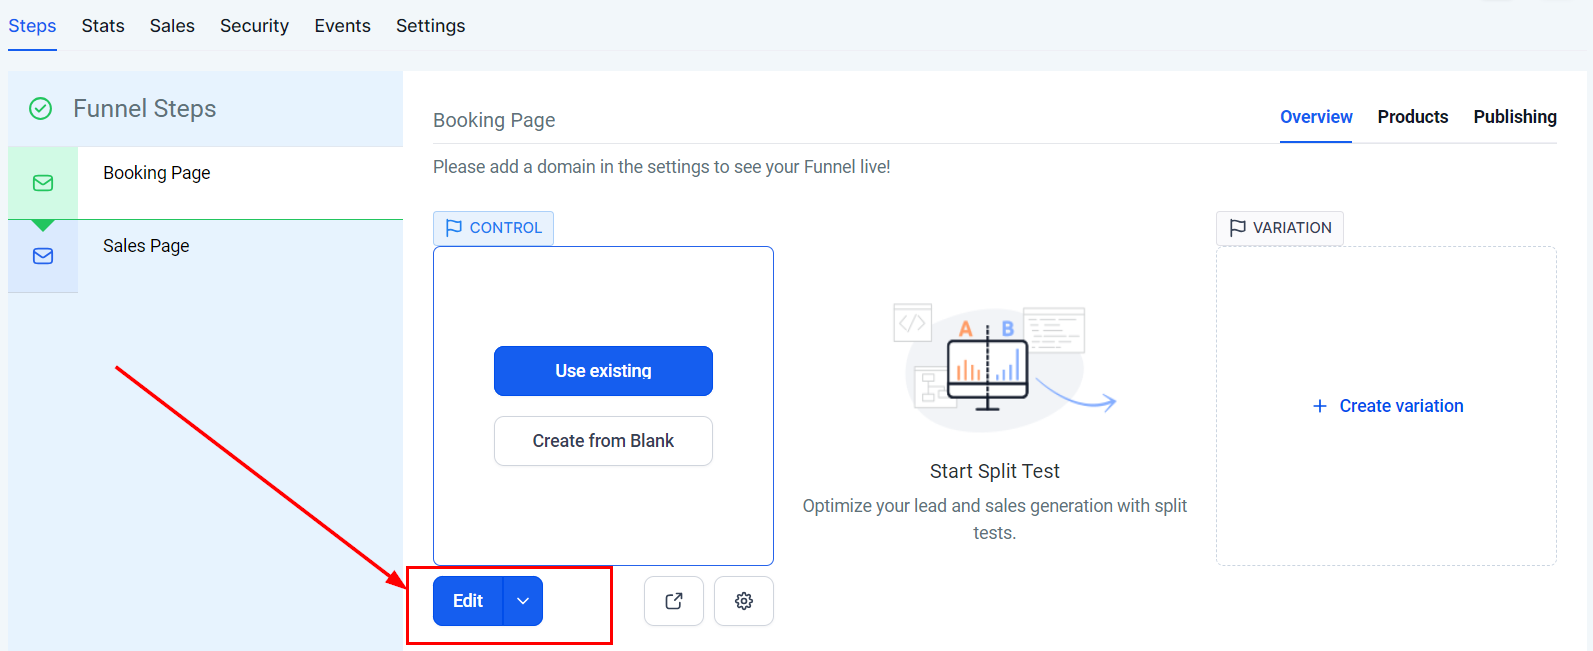
2. Ensure the funnel includes the calendar with the consent checkbox enabled.
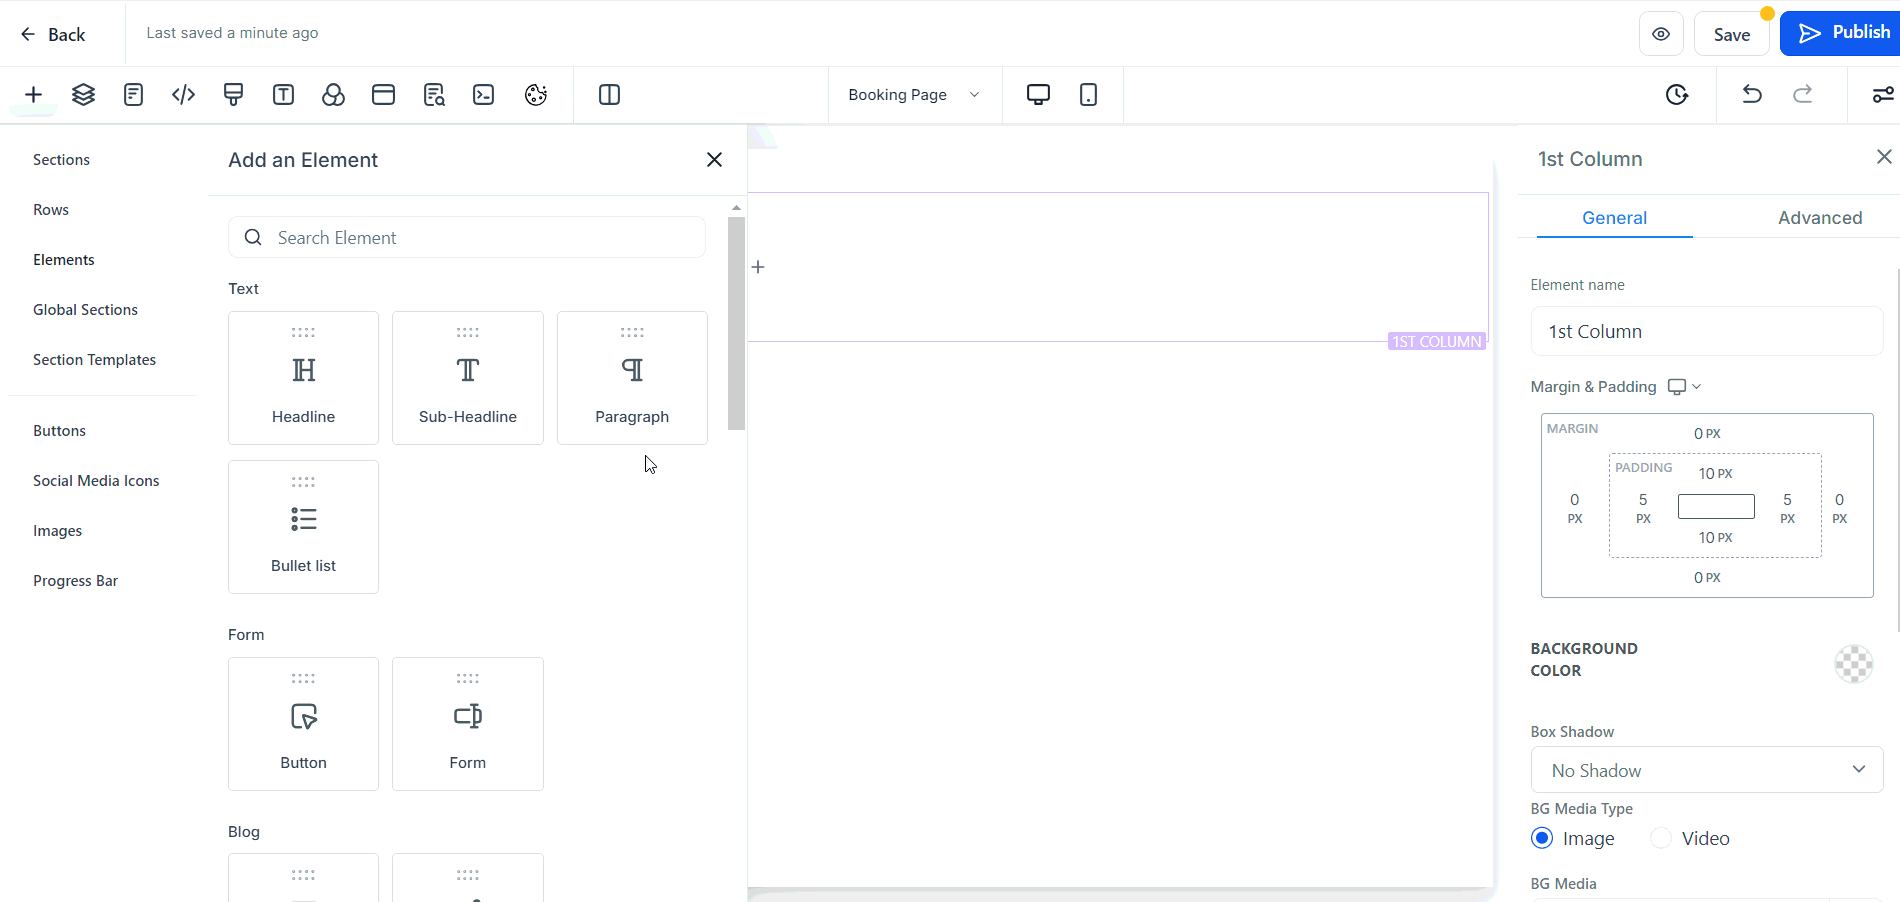
3. Preview the funnel to see how the consent checkbox appears during the booking process.

This step is crucial for understanding the user experience and making any necessary adjustments to ensure clarity and compliance.
Verifying Consent Post-Booking
Once an appointment is booked with the consent checkbox feature enabled, you can verify the consent status directly within the CRM:
Return to the "Calendars" section and view the appointments list. Locate the appointment of interest and check for a consent verification option.
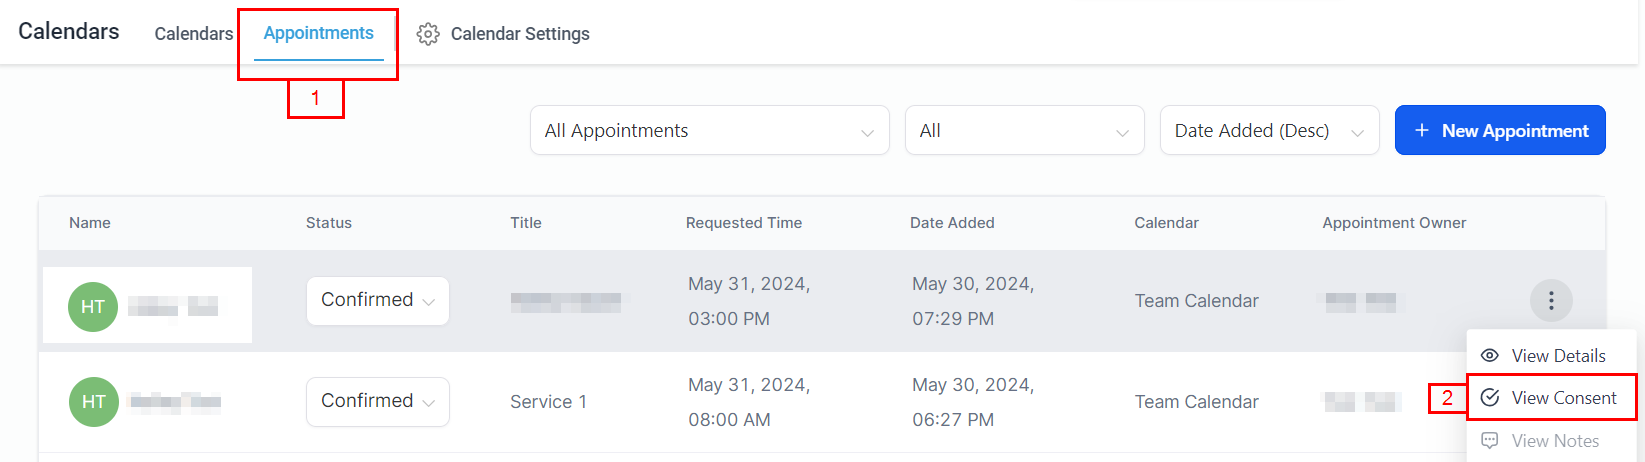
3. Clicking on this option will provide details such as the consent status and the IP address from which the consent was given.
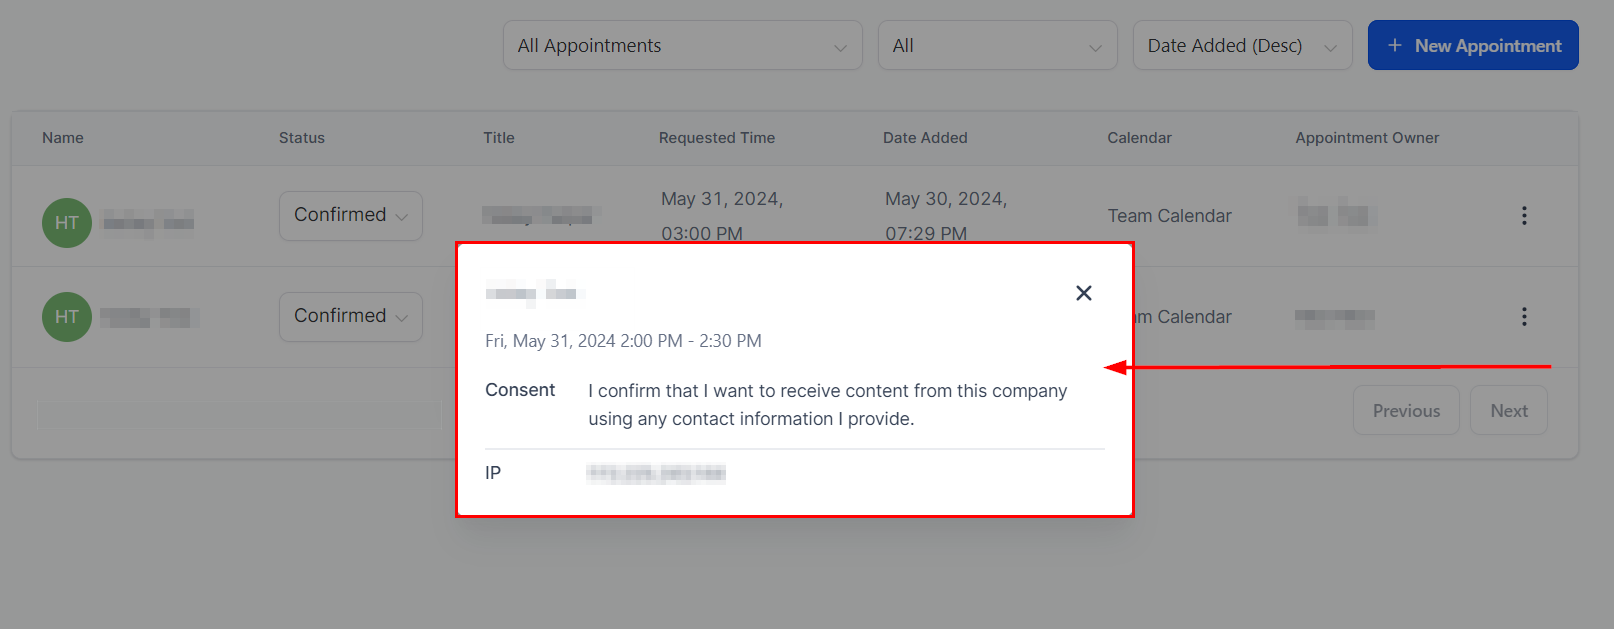
This verification process is essential for maintaining compliance records and ensuring you have explicit permission to communicate with the individual.
Frequently Asked Questions
Q: What if the consent checkbox does not appear in my funnel?
- Ensure that the consent checkbox is enabled in the calendar settings and that the correct calendar is integrated into your funnel.
Q: Can I customize the consent message?
- Yes, you can customize the message to better fit your organization's communication style or to provide additional information.
Was this article helpful?
That’s Great!
Thank you for your feedback
Sorry! We couldn't be helpful
Thank you for your feedback
Feedback sent
We appreciate your effort and will try to fix the article