Keeping your course members motivated and fostering a sense of accomplishment go hand in hand, and what better way to achieve it than offering personalized certificates upon course completion. To create customized certificates that allow you to automate their delivery, follow these steps!
Creating Certificates
Access the "Certificates" tab within the Memberships section and click the "+ New" button on the right to introduce a new certificate.

Choose a template or start from scratch, depending on your preference.

Customize the certificate design with your desired elements and branding.

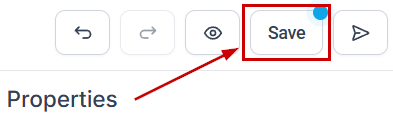
Save the certificate once the design is finalized.
Testing Your Certificates
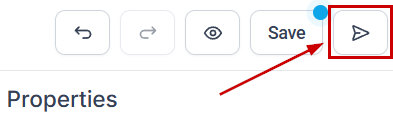
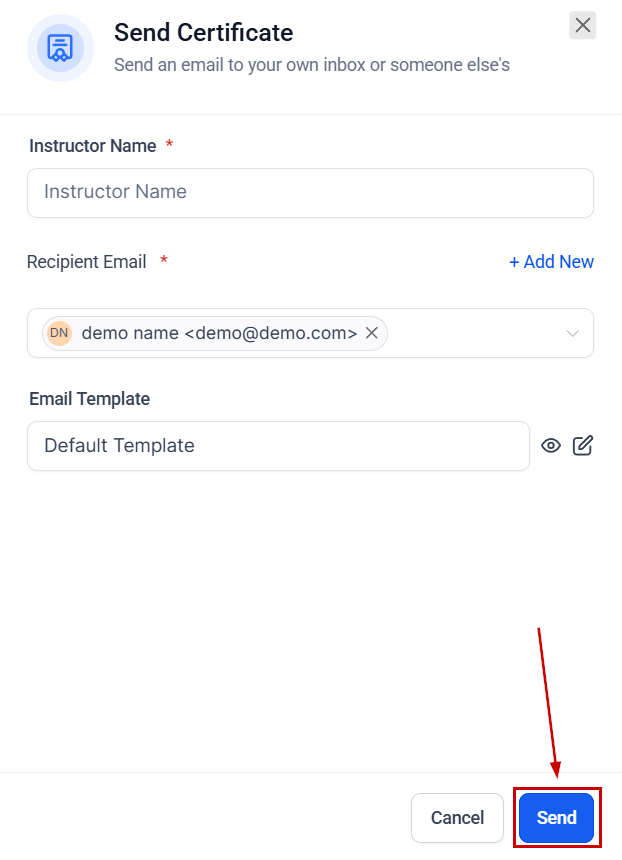
You can send offline certificates to any contacts directly from the Builder. These offline certificates make it easier to test the look before sending it out to an actual member. To send them, click the Airplane Icon.
Fill out the instructor's name.
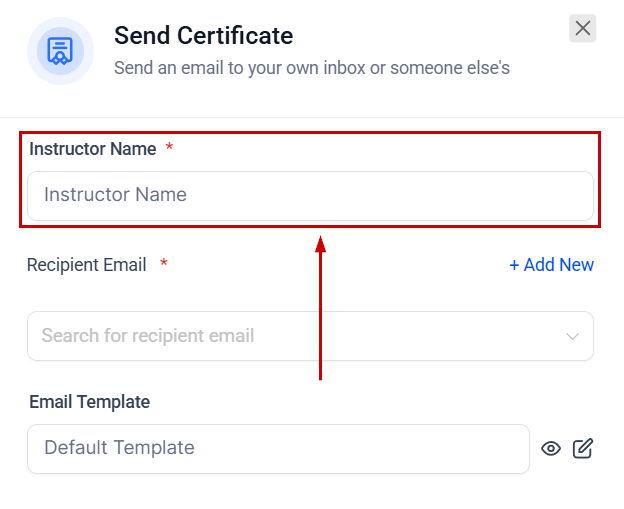
Select the recipient's email from your contacts. If you want to send it to someone who has not been added, click the Add New button to input their information. Any custom value you've added to the certificate will be replaced with a blank space if the information is not already added.
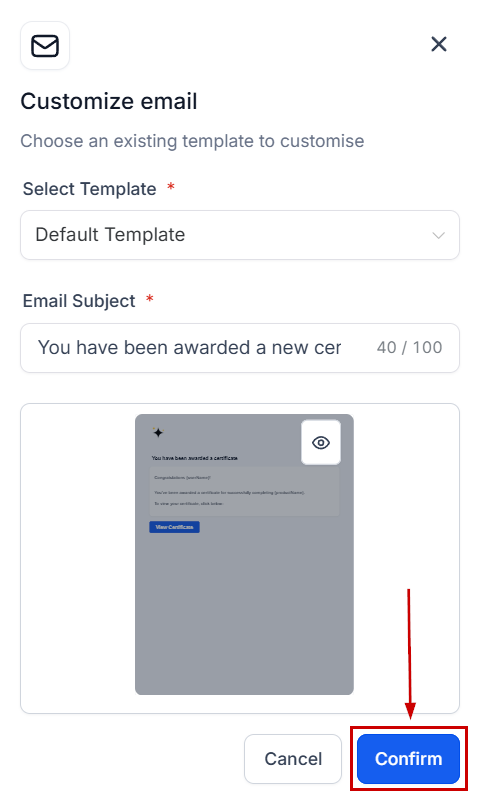
Click the eye icon to preview the template.
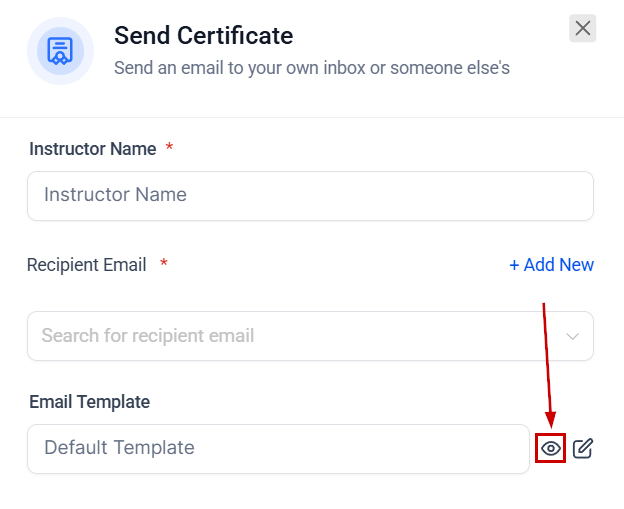
Click the pencil icon to open a module where you can change and edit the email's template and subject.
Click Confirm to save the changes and close the window.
Click Send to email the certificate.
Adding Certificates to A Course
Navigate to the "Courses" section and select the course you've created.
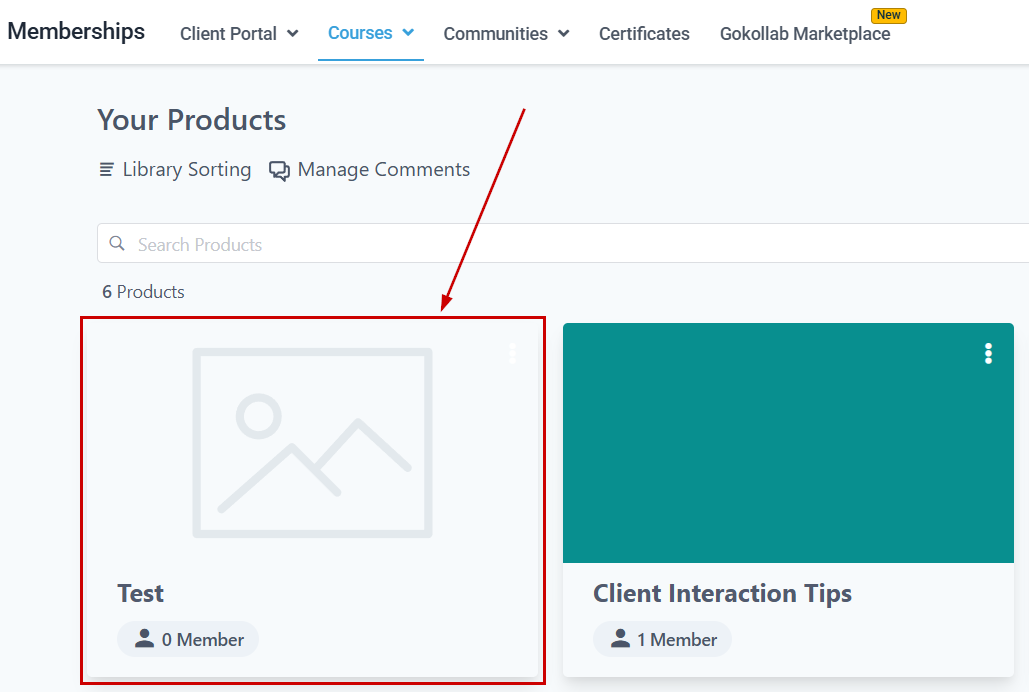
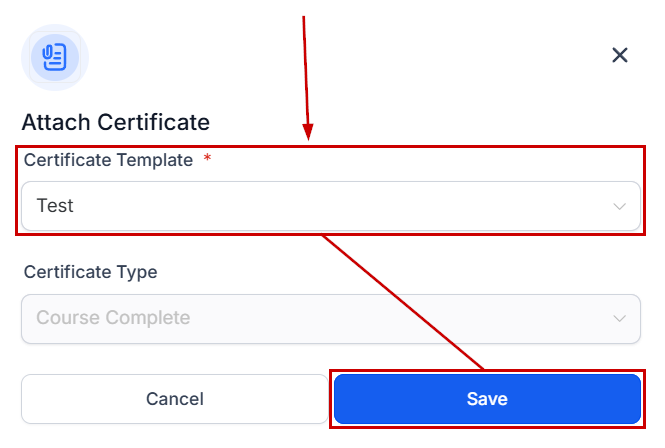
In the "Certificates" tab, add the certificate you've previously designed.
Select your desired certificate and click save to ensure the certificate is linked to your course.
Issuing and Previewing Certificates
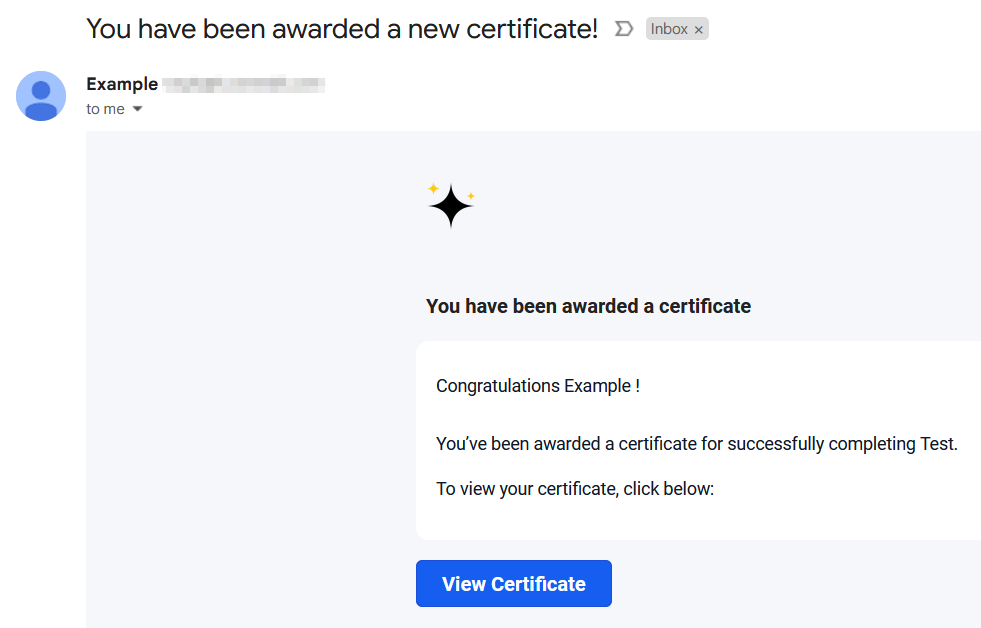
Members who complete the course will automatically receive an email congratulating them, along with the certificate.
You can navigate to the "Issued Certificates" section inside the Certificates tab to view and manage all certificates issued.
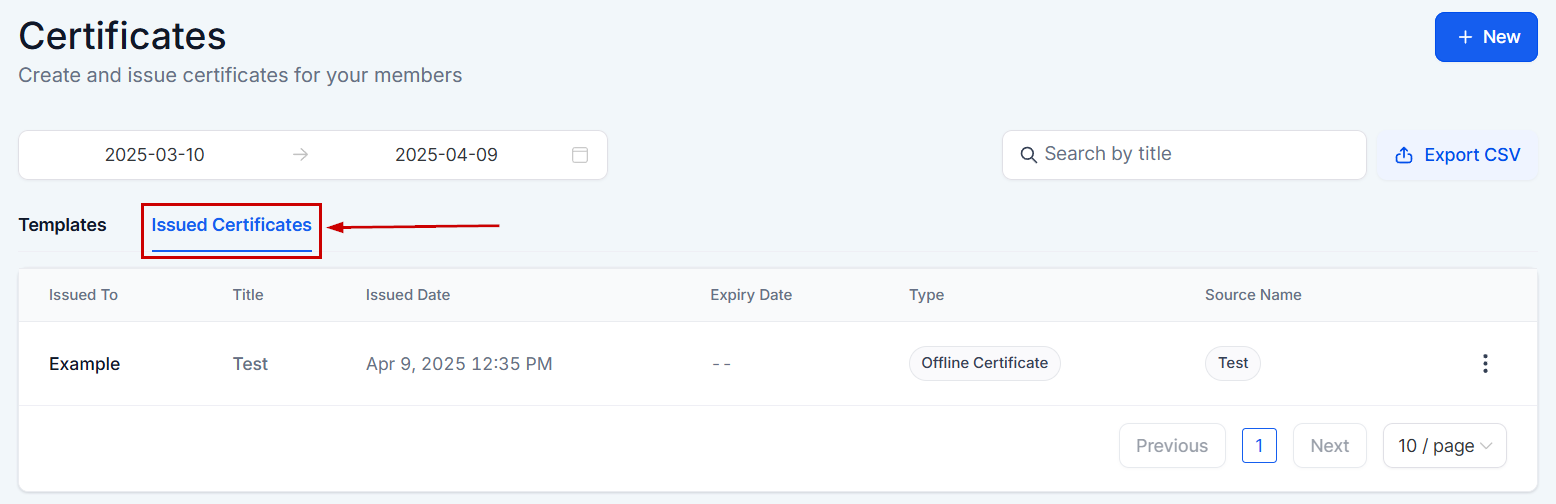
Preview the certificate to ensure it meets your expectations and provides a positive experience for members.
Receiving The Certificate
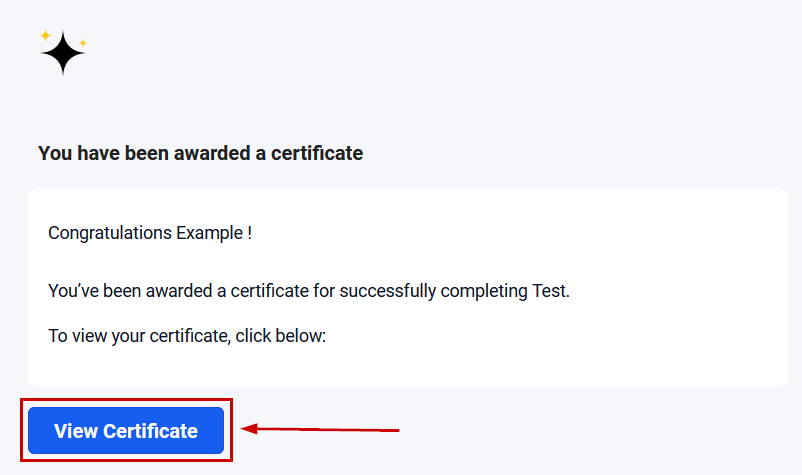
Once sent, the recipient will receive an email containing a button to access the certificate.
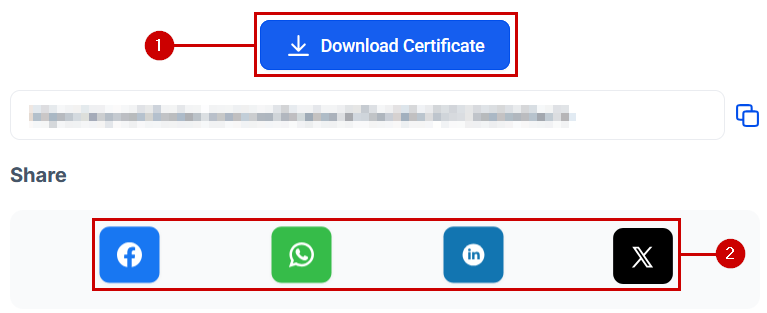
Upon opening the certificate, the contact has the option to download (1) or share (2) their certificate.
Troubleshooting Tips and FAQs
Q: What if a member doesn't receive their certificate?
A: Check the member's course completion status and ensure their email address is correct. Additionally, advise them to check their spam or junk folders.
Q: Can I customize certificates for each course?
A: Absolutely! You can create and customize unique certificates for each course, allowing for a tailored recognition experience.
Q: How do I update a certificate after it's been issued?
A: To update a certificate, you'll need to edit the original design and reissue the certificate to the affected members manually.
Was this article helpful?
That’s Great!
Thank you for your feedback
Sorry! We couldn't be helpful
Thank you for your feedback
Feedback sent
We appreciate your effort and will try to fix the article