The Social Share element in your CRM enables visitors to share your content effortlessly across various social media platforms, increasing your online presence. This guide explains how to utilize the Social Share element to maximize your content’s visibility.
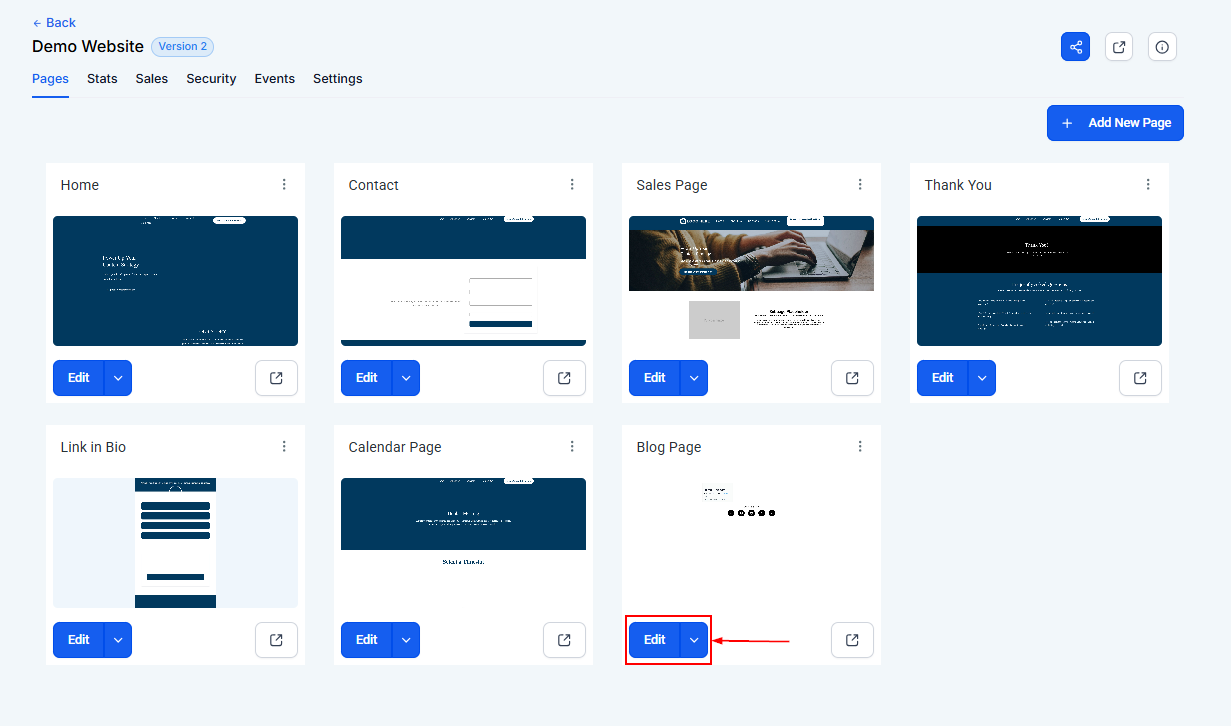
Navigate to a funnel or website of your choice, and access the page with the Blog element added.
Add Social Share Element
In the builder, drag and drop the Social Share element in the desired location on your page. Once the element is added, click on it to configure the platforms you want to include, such as Facebook, Twitter, LinkedIn, or others.

Edit Style
Choose from various icon designs to align with your brand's aesthetic. You can also adjust the size and shape of the buttons and position the Social Share buttons to suit your layout, whether centered, left-aligned, or right-aligned.
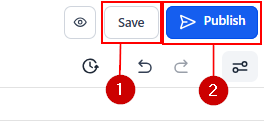
Save and Publish
Once satisfied proceed to saving and publishing the page.
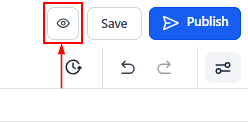
Preview Share Function
Click the Eye icon to preview and test the social share buttons.
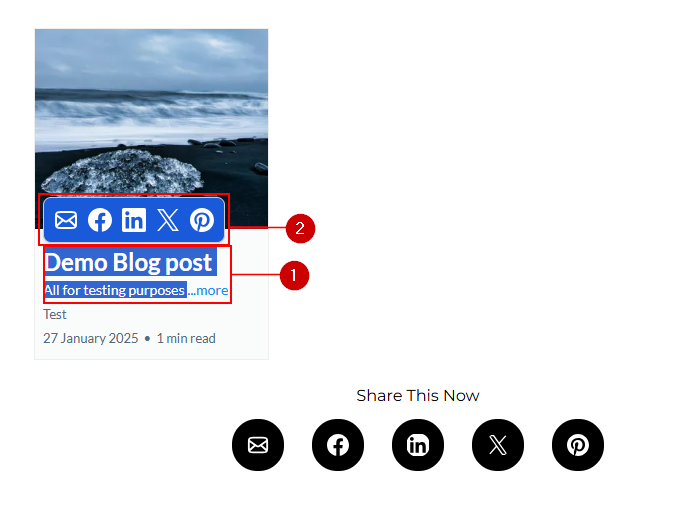
In the preview, highlight the words on the blog post and the social share icons will pop up. There you can select which social media platform you wish to share your blog post.
There you go! The Social Share element is a simple yet powerful tool for enhancing your content’s visibility and encouraging user engagement. By leveraging its customization features and placing it strategically, you can boost social sharing, drive traffic, and expand your audience.
Was this article helpful?
That’s Great!
Thank you for your feedback
Sorry! We couldn't be helpful
Thank you for your feedback
Feedback sent
We appreciate your effort and will try to fix the article