Your invoices help you keep accounting clear and organized, and transitioning from a previous system to your new CRM without losing that essential data is incredibly important. Follow along with us to bring external data into the system.
Prerequisites
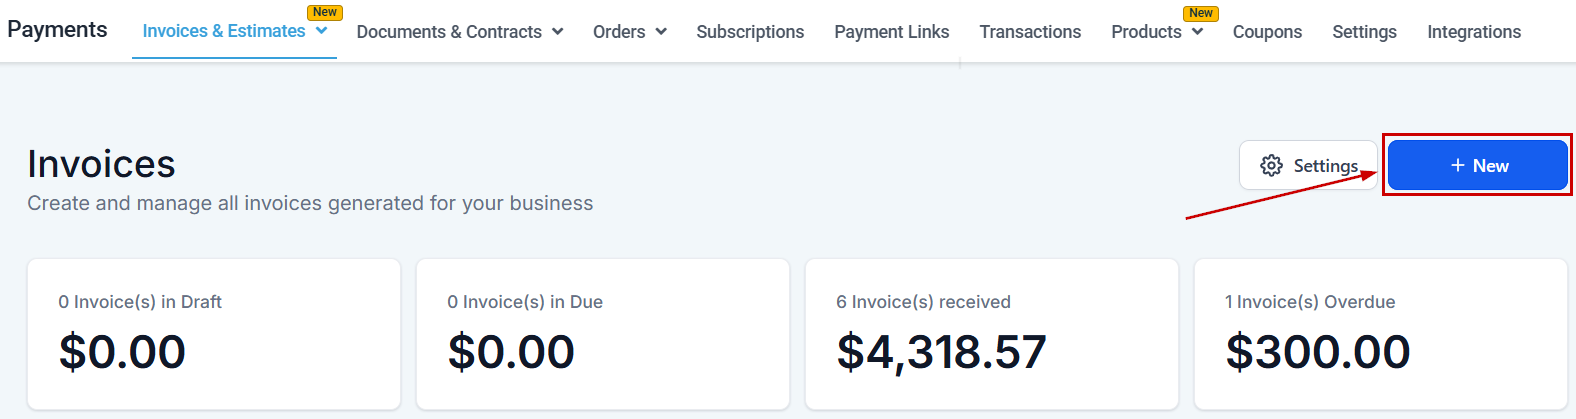
Start by navigating to the Invoices & Estimates tab inside the Payments section, and click the + New button.
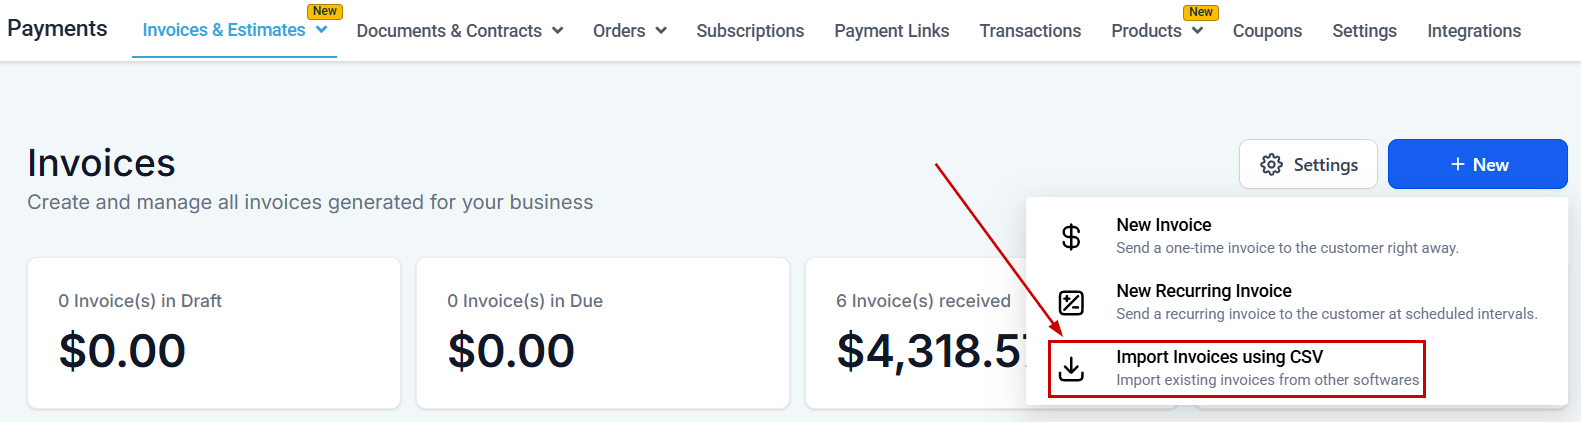
Select Import Invoices using CSV.
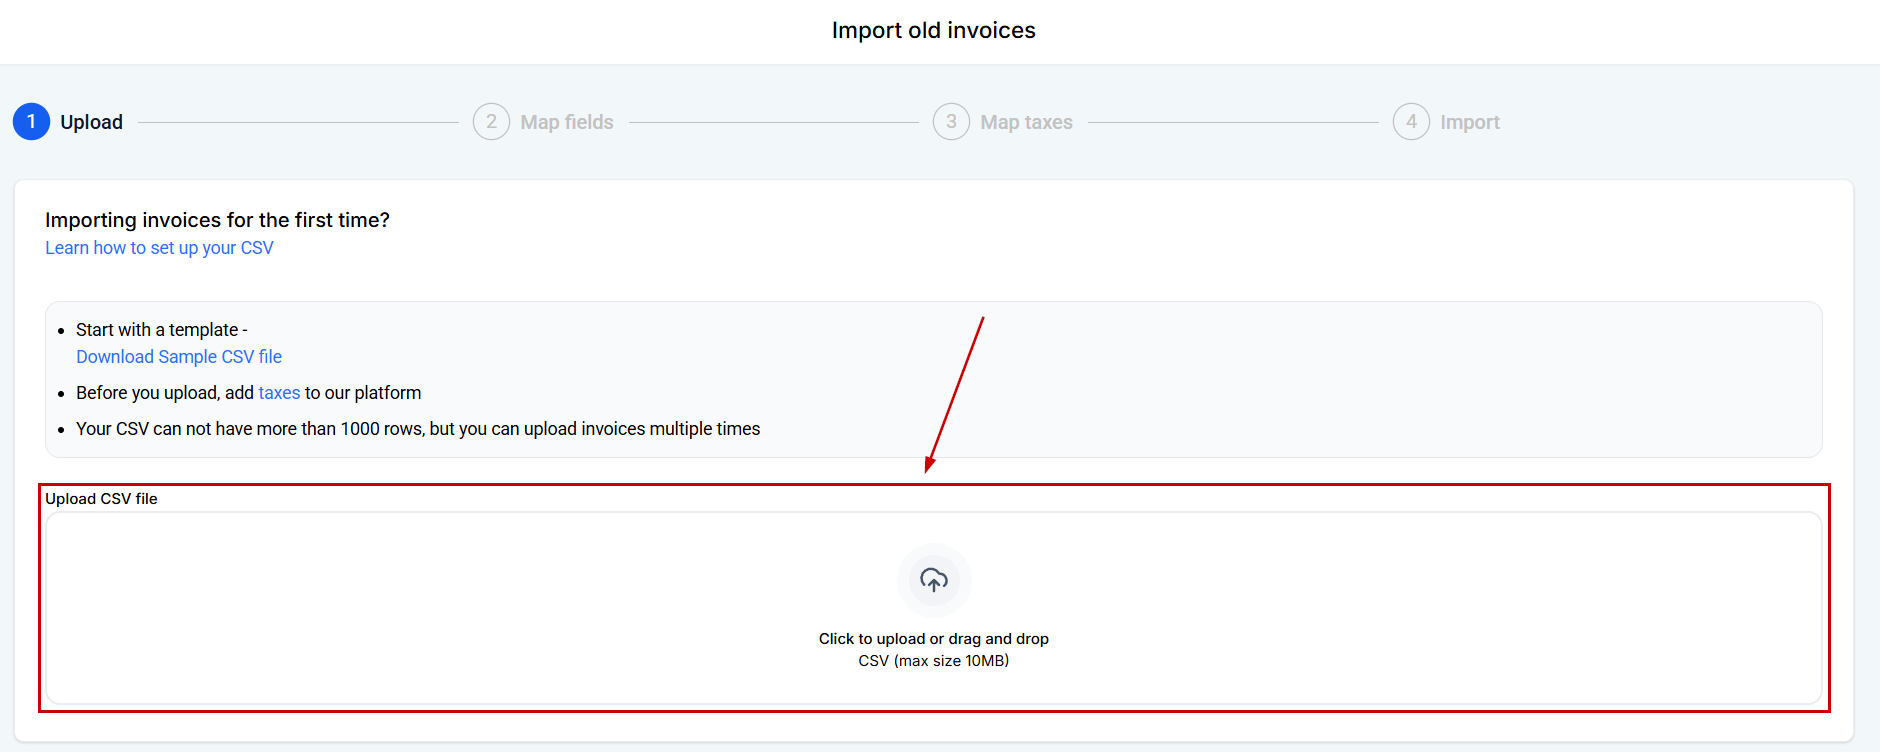
Click Download Sample CSV file, which will help you organize your information and use it as a template before importing.

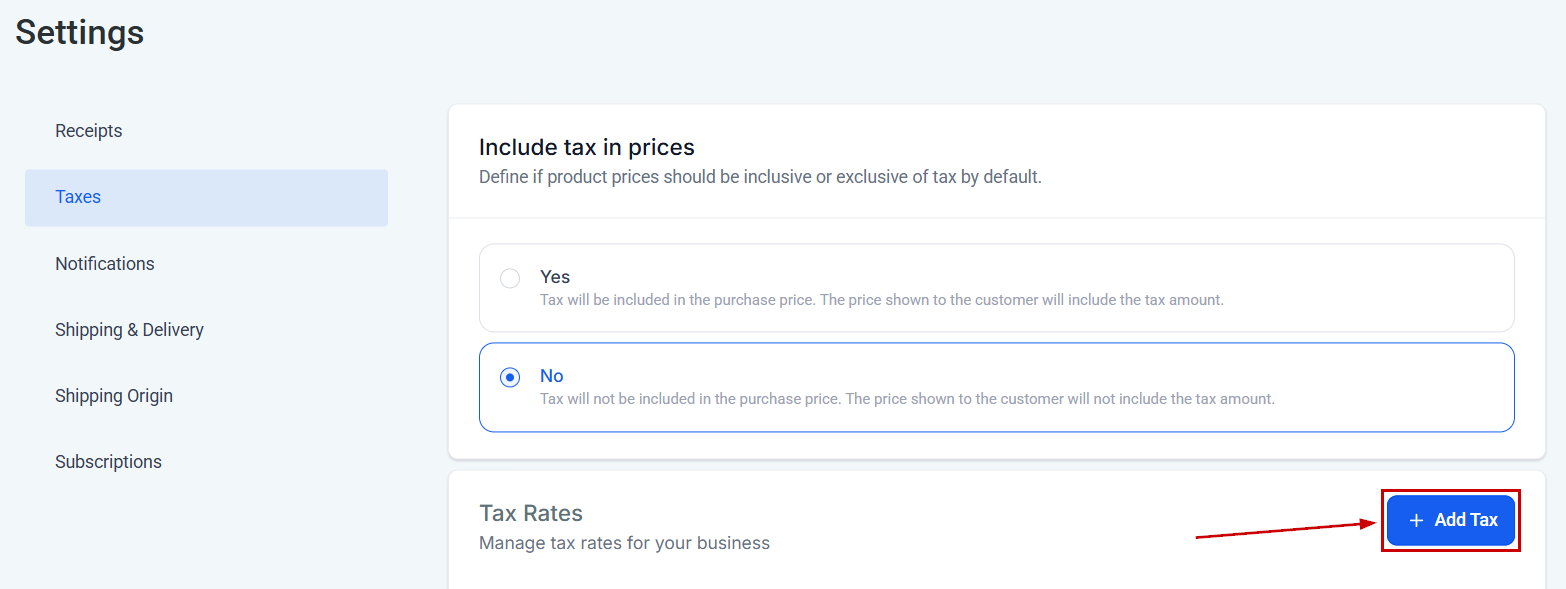
Map your taxes inside the system by clicking the taxes option.

This will redirect you to the settings tabs, where you can add the needed taxes.
Importing Old Invoices
Click the + New button and select Import Invoices using CSV.

Upload your previously mapped file.
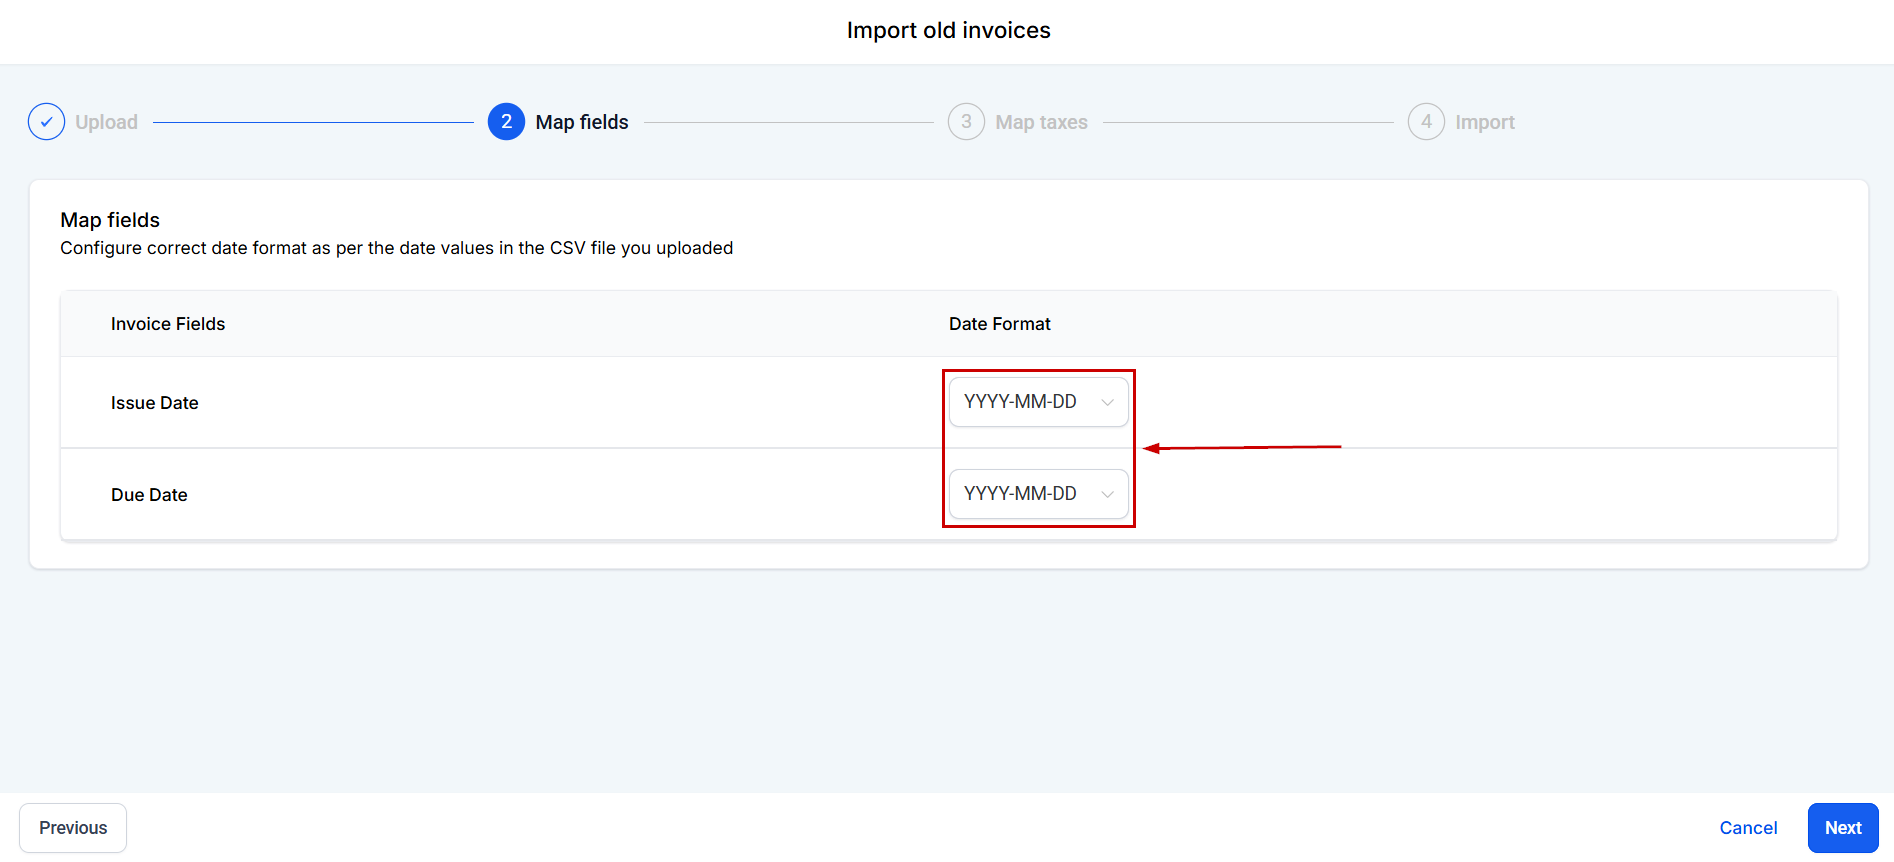
Map the Date fields, then click Next.
Map the Tax fields from the file to the ones in the system. Once you've matched all fields click next to continue.

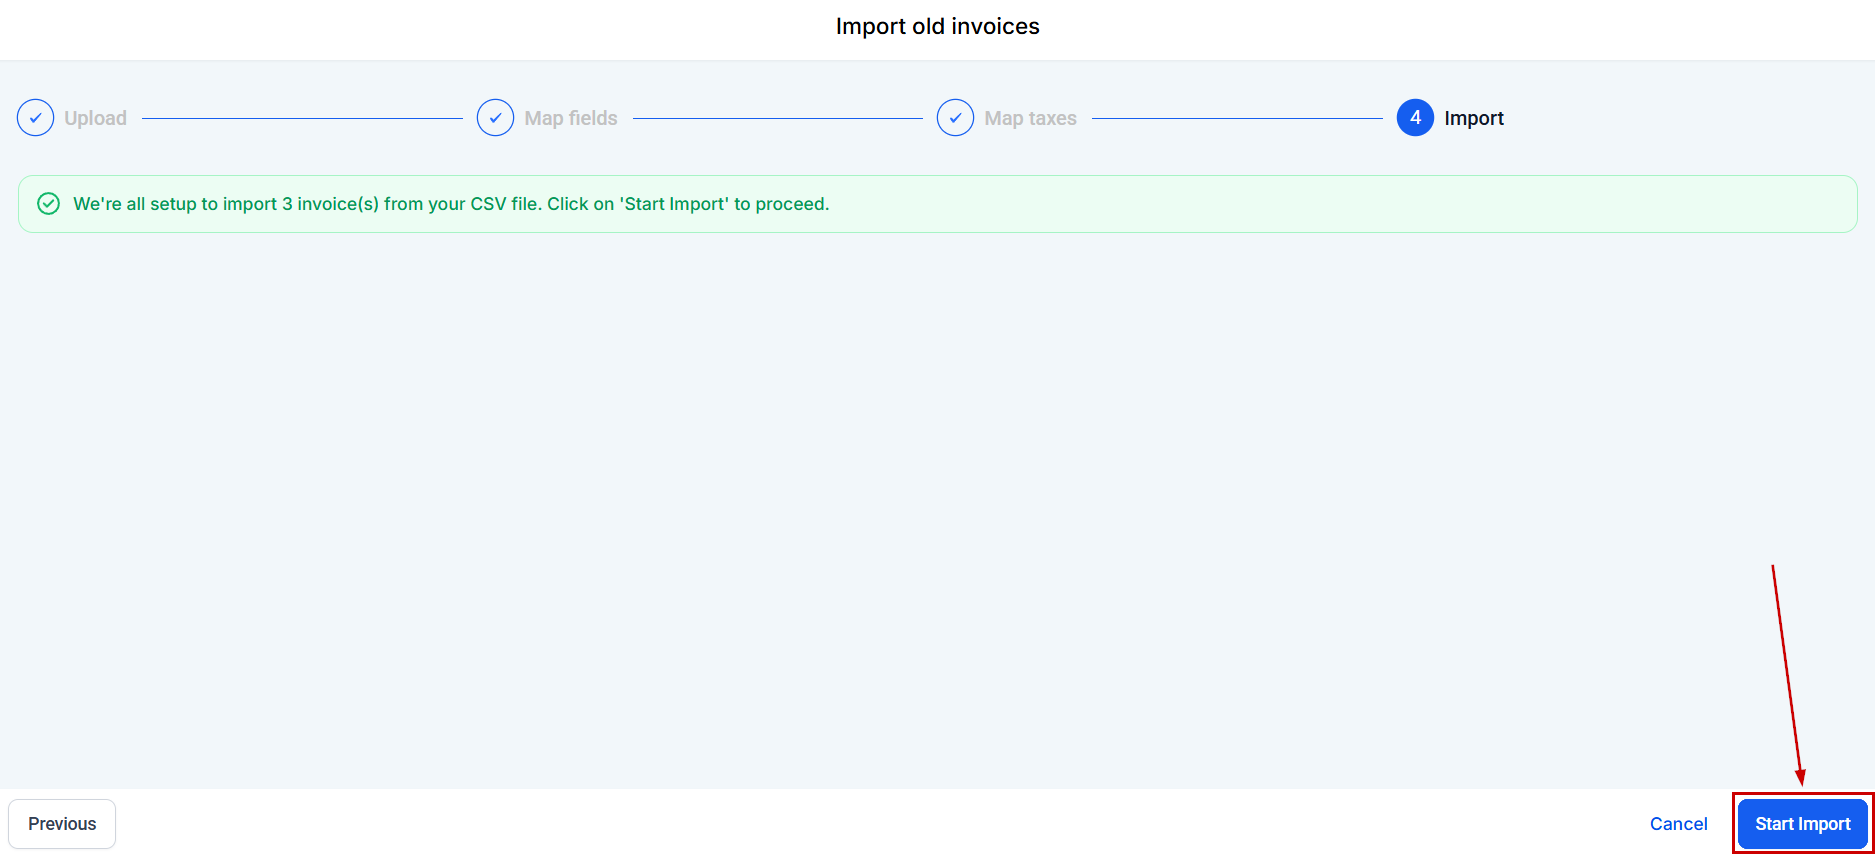
A green confirmation banner will appear if all fields were correctly mapped; click Start Import to begin the process.
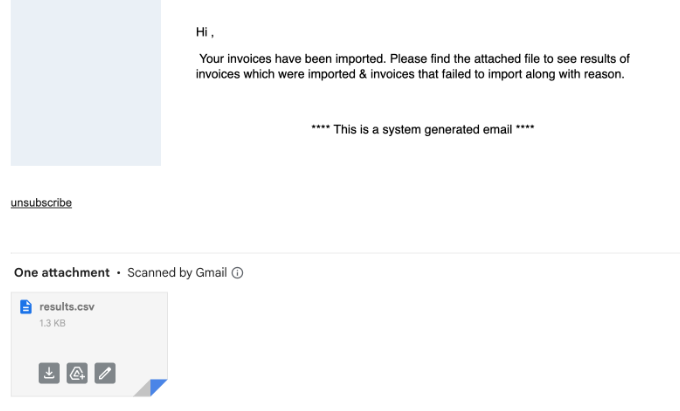
Once the import is completed, you’ll receive an “Invoice Import Summary” email. It will show you the success and failure rates.
Late fees and tips will be applied to these invoices as per global settings, but they will not trigger reminder emails or texts. So, you can handle the process from here on out as you see fit. We hope this helps you keep a centralized invoice history and maintain accurate records without wasting time on manual input!
Was this article helpful?
That’s Great!
Thank you for your feedback
Sorry! We couldn't be helpful
Thank you for your feedback
Feedback sent
We appreciate your effort and will try to fix the article